It has been an astonishing month here at the Slow Woodworker. For no apparent reason there has been a real burst of activity and good progress to show for it!
Spine/feet/arms were completed as of our last update. I know I'm a bit loose with the terminology.

OK skeptics here are both feet in place.

After all this it was time for the last bit of joinery work, the mortice and tenons between the arms and hands. I think of them as wrists!

I started with the mortices on the bottom of the hands, using a 3/4" Forstner bit on my horizontal morticer, then tidying them up.
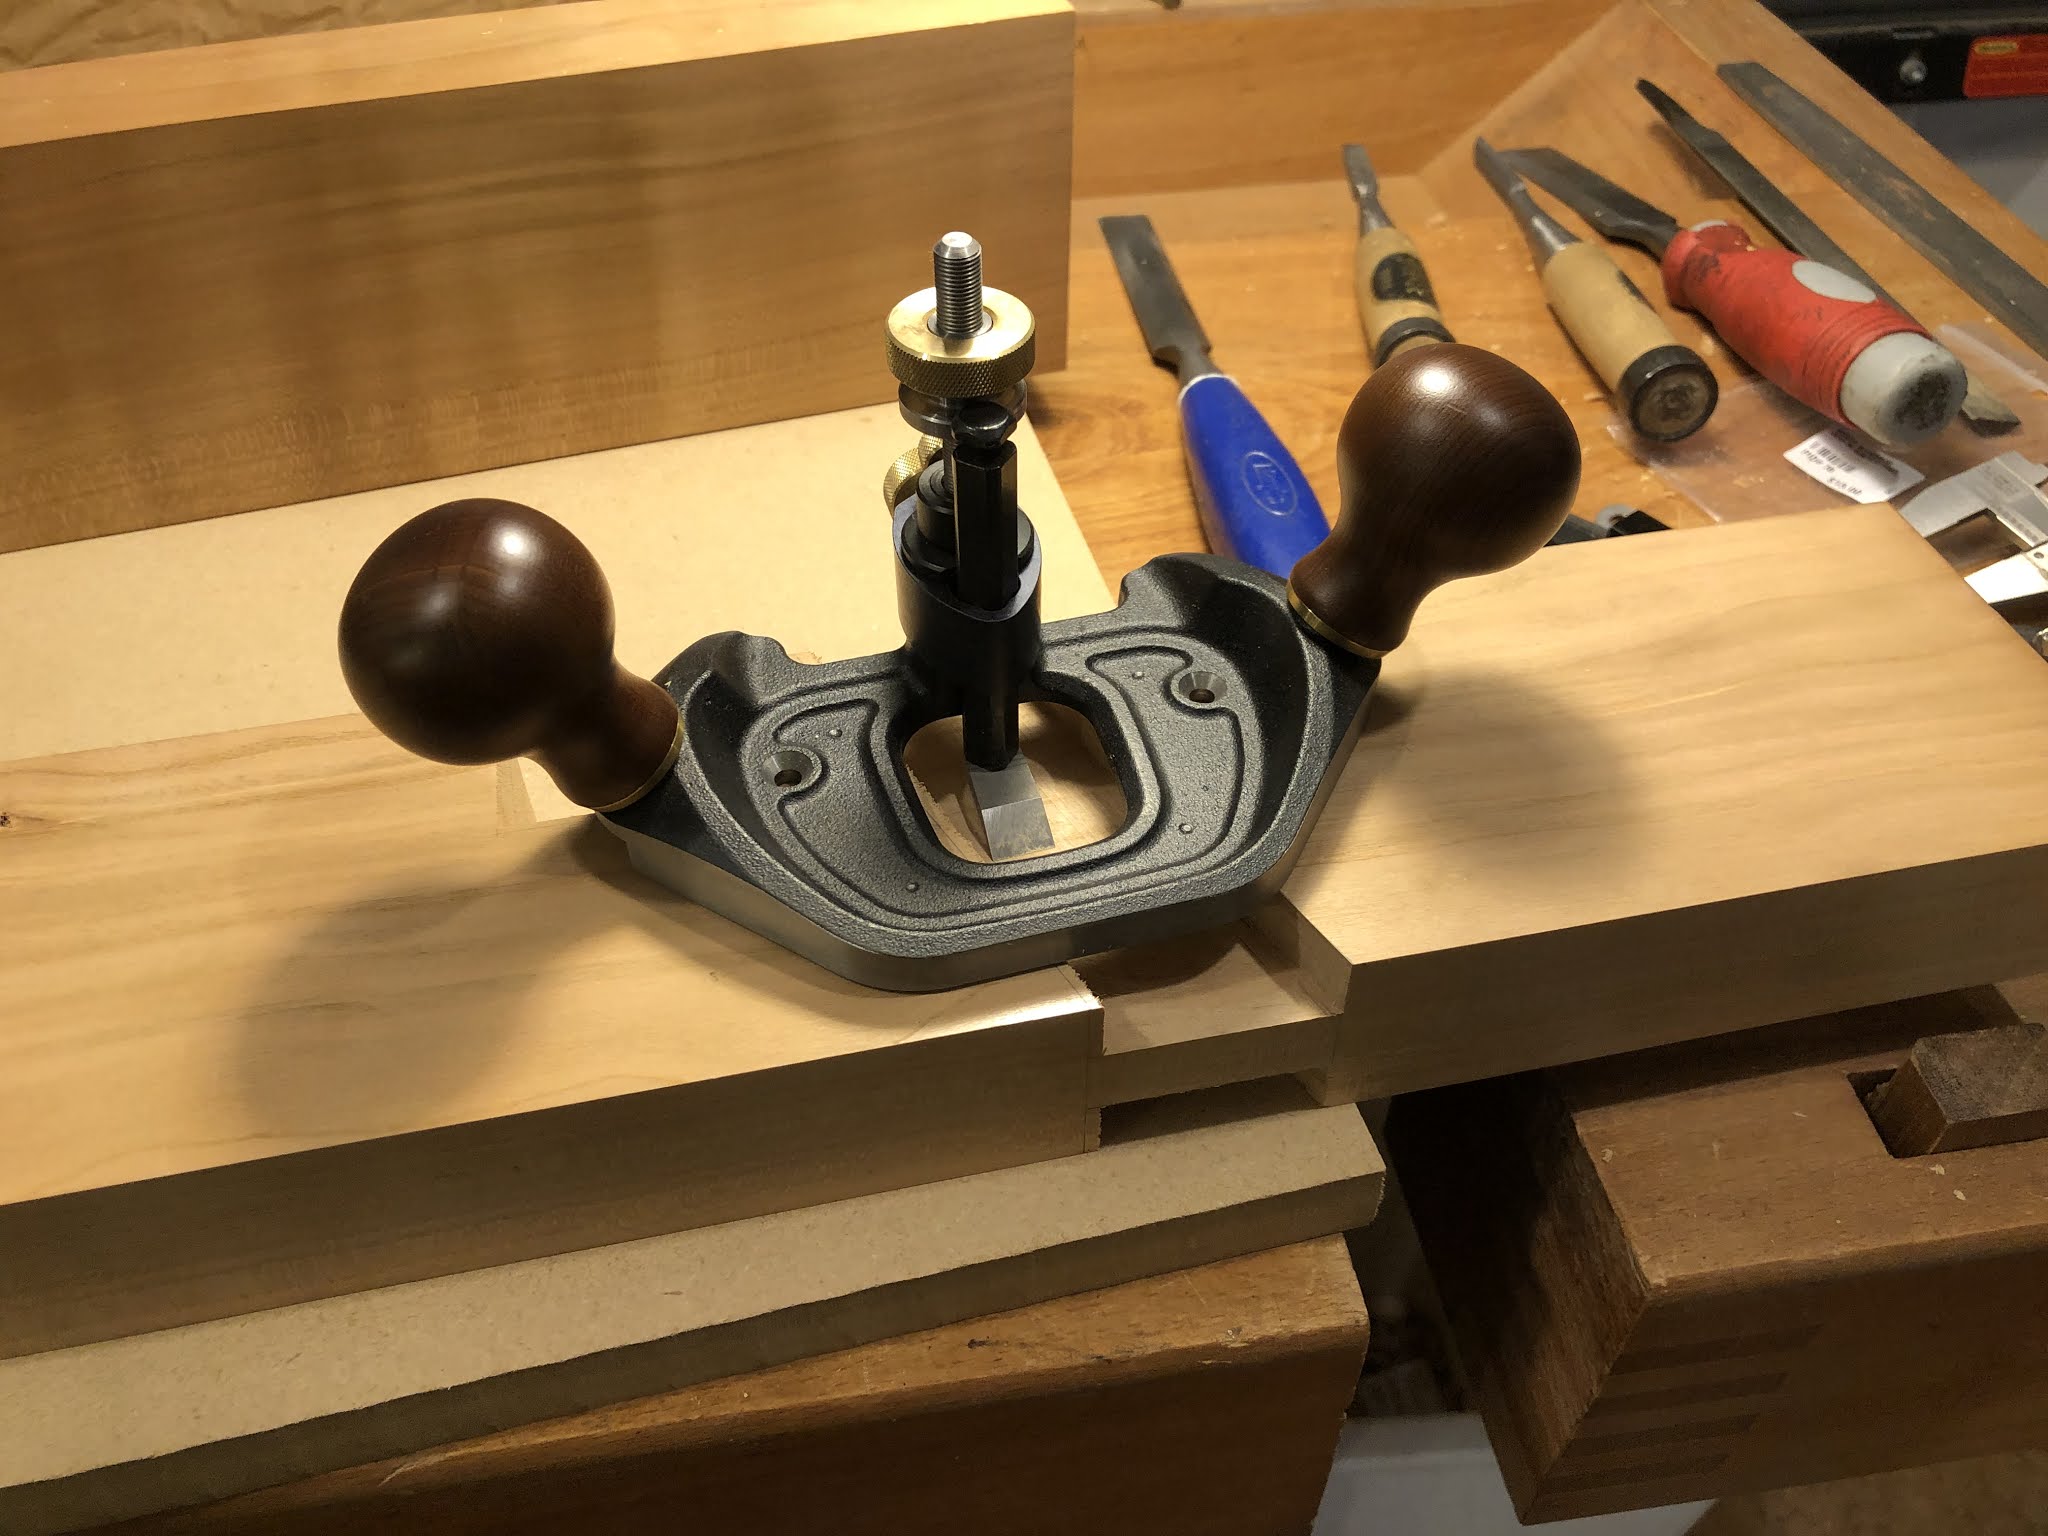
First I used 'the sport of freehand morticing' with an end mill on the horizontal morticer. But I hate that so much I clean ed up as much as I could with a chisel, then just did a final pass with the end mill.
At some point I discovered that I had used the 5/8" bit instead of the 3/4" bit. Whaaat? How does that happen? Well at least it was not a bigger bit. My punishment was more effort on the cleanup. Lesson learned, again. Must stay 100% focussed!

Next step was the tenons on the arms, cutting on the Hammond Glider with a freshly sharpened blade. Sharpening makes such a difference!

I am so grateful to Robert at the IPSFC for teaching me how to make mortice and tenon joints quickly and properly.Once the tenons are rough cut to size on the first the tablesaw then the bandsaw, I dialed them in using my shaper to pare the cheeks down to a perfect fit. Using the dial gauge with the magnetic base I can dial in the fit to within a thousandth of an inch!

OK of course it was not that easy, the other arm still had some twist in it so I had to tape on a feeler gauge to make the cheeks parallel on it.

It's amazing how things kind of stumble along during a project then suddenly it all fits together, and BOOM!

BOOM BOOM!

I have decided to use this slab as the top. I will probably have to use some dovetail keys on it, but I think it will work nicely. Plus my daughter likes it. So what else matters!
Next up will be to trim the slab and make up the keys. I have never made keys before so it will be a journey. Plus there is still plenty of fussy fitting on the base to go through still. I will save final trimming of the hands and feet to near the end.
I should also mention that I screwed up the height somehow, despite massive deployment of trigonometry.

I wanted the finished height to be 16.5", but it is 16.5" now, and need to trim the hands still. It's probably going to wind up at a hair under 16". C'est la vie.