Sunday, June 27, 2010

Odds and Ends

I have been focussing on clearing the table of a few small projects before I dive into the Hammond Glider resto.

First up I was able to get the 12" Rockwell bandsaw project finished. The saw was in pretty good shape for its age, other than a bit of surface rust and a missing part, and the motor needed mounting. Here is the saw before:
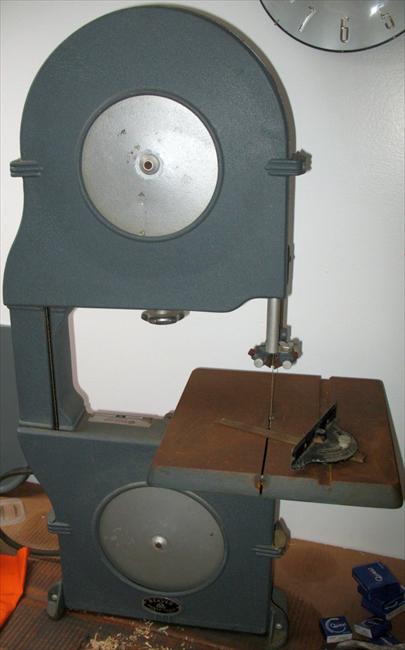

A big push one full day got most of the resto work done. I took the bandsaw table and guide assemblies apart, cleaned everything, and put it all back together. I didn't bother replacing the bearings or the tires on it. I had to get a new upper thrust bearing assembly made at a local machine shop.

I cleaned the rust off the table by first scraping it off with a razor blade, brushing it with a brass wheel chucked in an electric drill, spraying it with wd40 and sanding it with 400 grit in an ROS, then cleaning and waxing with carnuba wax. Came up pretty nice I think.


The stand is of elm that I harvested, the mobile base is of purpleheart that I originally thought I would use on a cabinet, that didn't happen so now it's a mobile base. I made these up some months ago, they were not part of the one day resto!

Still need to fashion some kind of cover for the exposed end of the motor shaft, and to add a dust collection port to it. Someday.

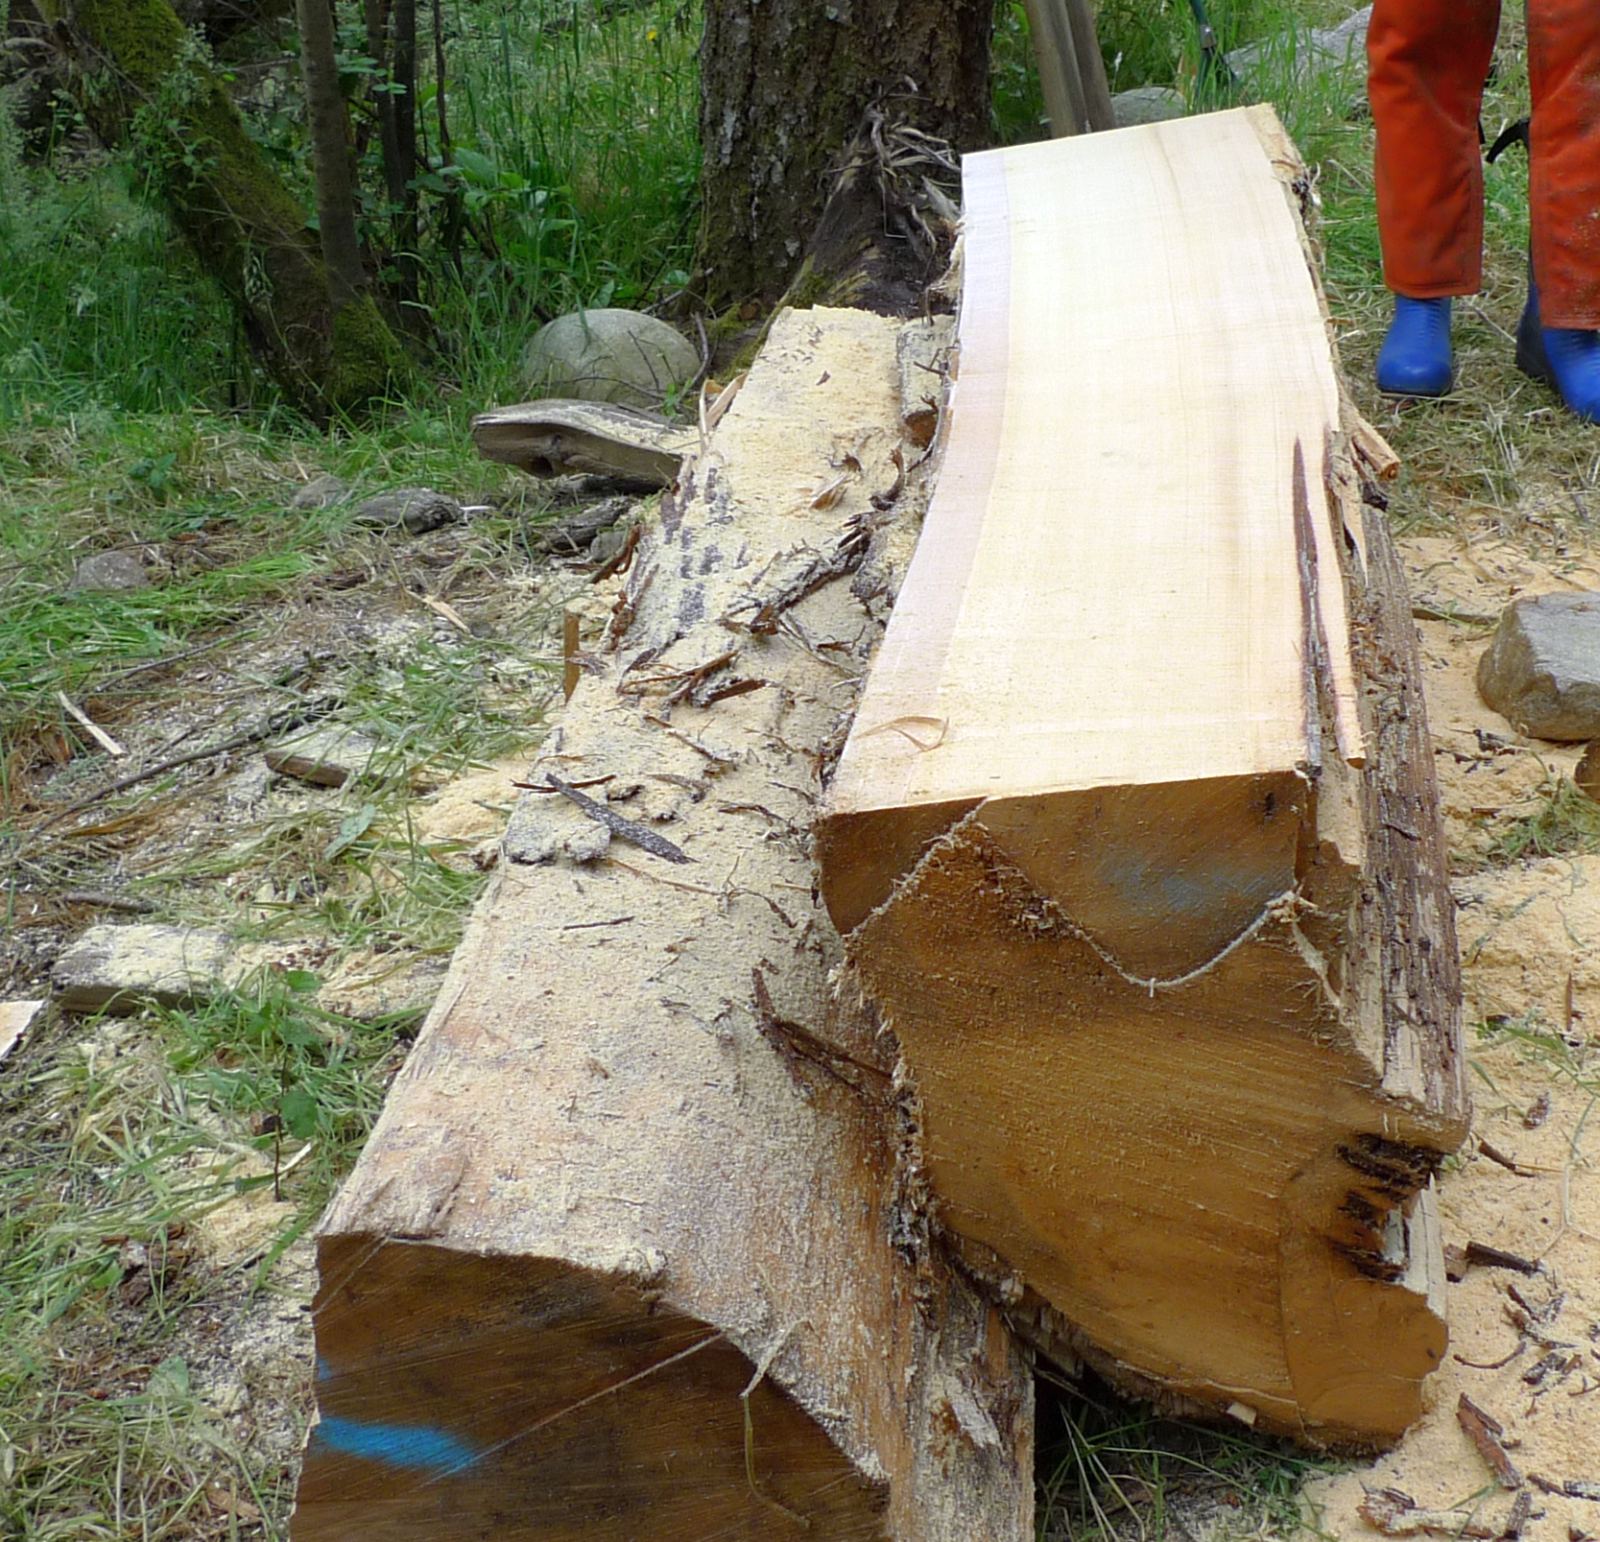
Meanwhile I also went to a friend of a friend's place up the coast with my chainsaw mill, he had a 4 foot diameter yellow cedar butt that was 6' long. It was originally from Haida Gwaii, and had been quartered so it was easier to manage. We got about 25 nice slabs out of it, mostly quarter sawn with beautiful tight old growth grain. I brought home five gorgeous pieces about 2" thick.

Saturday, June 12, 2010

Bookcase Done!

Finally completed the 13 month long bookcase project.

Moved it upstairs into position in the living room. Something I had not anticipated was that it came up the basement stairs with only about an inch of clearance. Could have been a real disaster!


It was intended from the start to fit into a corner of our living room. Even though several of the panels had some sapwood on them, sapwood is quite invisible from most locations in the living room. I am pleased with the way I was able to hide it from view. I also made up half a dozen spare consoles, they are stored on a strip under the bottom shelf.

I made it as gift for my (very patient) wife, using elm I had harvested myself with my chainsaw mill. So I was prepared to accept the flaws in the wood as it had more significance to us.

The following shot shows more of the consoles in place. The only significant error I made in this project was when I drilled the holes for the consoles in the central frame piece on the back. I failed to drill them in the centre, they were offset by accident, so to compensate I had to drill matching holes equally offset in the other direction. That it why there are two consoles on the middle frame piece rather than one. 


And here it is in place with the shelves in, ready for books, family photos, and other treasures.


What is next? Well four people have contacted me with logs to mill on private property, so looks like the season is not quite over for that activity yet. Also I do have a small shelf project I started as a 'thank you' for a neighbour who gave me some walnut. I want to finish that one.

Then stand by for a major machine restoration, my Hammond Glider sliding table saw.

After that I will probably start another cabinet, I've been inspired for a long time by one I saw by Zivko Radenkov, a student of James Krenov's and a College of the Redwoods graduate. It's elm veneer with an inlay of dogwood flowers, called the Dogwood Cabinet. (Search for it on that page, it's near the bottom.) A beautiful piece, but one that may still be beyond my skills. Radenkov has a couple other cabinets on this same page that are even more stunning.

So I will continue to dream about that one, but probably go for something intermediate to that, a curved glass front cabinet comes to mind, I need to get away from doing rectangualr stuff!

Friday, May 28, 2010

Alien in the Shop!

I finally picked up one of these unbelievably cute 6" Craftsman planers. It was a machine I had wanted for a long time. I'd had a line on one in Massachusetts, but it fell through recently. This one I picked up locally, Tsawwassen. I guess I was destined to buy one from a place that is unpronounceable and unspellable!


For obvious reasons they are nicknamed 'aliens'. They are all cast iron and despite their diminutive size they pack some heft. I am hoping with minimal work it will be a nice precision planer for small stuff. 

Special thanks to Ryan for coming by and taking the Elm of Death slabs off my hands. My wife was happy to see them gone, not happy that he didn't take more! Get a bigger trailer Ryan!

Picked up a few rounds of locust from a nearby tree that got cut down. Locust is very hard, similar hardness to padouk, about the hardest wood that I am likely to find locally. Locust makes great jigs, bench dogs, etc. One of my first cabinets I made with locust I harvested, it has a strong yellow cast that has been darkening gently, and delicate ray flakes when quarter sawn.


Also made a touch of progress on the 12" Beaver bandsaw, in that I got the motor clamped to the stand and actually had it all running for a brief time. Long enough to discover that everything seems to work OK, but that the upper guide is missing the thrust bearing. Sigh.


Also made what for me is great progress on the bookcase. The Youtube drill and saw technique for making 7 mm diameter dowels was just not reproduceable enough, so I instead made a jig that allows me to feed a square stick into it with a drill, the jig holds it in position on my shaper which cuts it round as it spins past the shaper bit. It was quite tedious to set up those last couple 0.001" but it worked well once I got it dialed in.

After I made up several feet of 7mm dowel from various stock I turned my attention to the consoles themselves. A quick jig with a solid hold down on it, and working on two consoles per piece of wood solved the problem of consistent sawing of small pieces.


Each console has three vertical 'facets' on it, two of these are at the same angle, but the third is on a different angle. So, more work. The consoles are inspired by the consoles Craig put on his beautiful kwila sideboard at IP last year.


Once the consoles were trimmed, I drilled the backs for the dowels, modified the jig and cut the third face, planed each face and took off the sharp edges, cut each piece in half to separate the two consoles, and glued in and trimmed the dowels. Here is the first one.


Monday, May 17, 2010

Slabs are Resting for the Season Now

Got waylaid by a plumbing crisis this week, but still got a few odds 'n ends done.

Managed to get all my slabs stacked up into piles. A couple leftover pieces still leaning against the garage have found new homes, just need to be picked up. The cutting season is over at the log dump, so no more milling until September. No excuses now on that bookcase!


A couple graduates from the IP school came by on Saturday before the show at Kozai gallery and rooted through my woodpile for a few pieces. Daisuke and Jacques, what a couple of great guys, wonderful craftsmen, I am sure they will put the wood to good use. I will have to remember to keep my eye on their blogs! Great show at Kozai, super packed, it was nice to see all the pieces and all the students. It was amazing how much work some of them got done in the week since I was up at the school!


Notice that this pile has 4 pieces of magnolia on top of 3 pieces of catalpa. Under the catalpa used to be four pieces of Port Orford Cedar until Jacques and Daisuke visited!

Speaking of the bookcase, I have really struggled with what to do for the consoles. Make or buy, make or buy. I have really wanted to make them but using off the shelf ones from Lee Valley would be so much easier. I drilled the holes in the bookcase at 7 mm, so that the Lee Valley consoles would fit if I chose to go that route.

There are 25 of them plus some spares, so I want some kind of psuedo-jig to do most of the work if I make them. Also, I don't really want to carve the dowel on the back of each console, I'd rather buy dowel and use it. Apparently 7 mm dowel is rather impossible to find. However, I did find this awesome video on Youtube of all places that shows how to make dowels super quick. I tried it, and it works well to produce a consistent sized dowel, although it's pretty tough on the saw. Just make sure you don't start any fires - you know, rubbing two sticks together at high speed!

And the panel from my last post? Thanks to Nick for his excellent guessing. From the top left: Port Orford cedar, yellow cedar, maple, Monterey cypress, birch, oak, locust, box elder, yew, London plane, alder, cherry, red cedar, catalpa.

Saturday, May 8, 2010

More . . . Elm!!

Once again a whole week of extreme busy-ness has passed. Yet when I look back on it, to paraphrase Prince "something close to nothing" has actually been accomplished. Not only that but I managed to totally forget a lunch appointment and a conference call along the way!

I had my eye on this log for a while. It has an unusual bark. I don't really know how to describe it. To me, it seems kind of interwoven, greasy, hairy. You may see it differently. The outer layers of the bark flaked off readily, they practically fell off, but the cambium was adhered very well. It took me a long time to debark this one. And because of the structure of the bark (and the huge windstorm the day before), the bark was full of sand. There was more sand in this log's bark than in any other I have cut before. Plenty of careful brushing was required before I got to the sawing part.


I took five slabs out of it.  Pretty straight grain for the most part, a bit of splitting on one end, but very usable. It was my lucky day in one sense, as I had noticed a nail in it while I was taking off the bark, then I totally forgot about it and started milling. As it turns out, the nail (which was about 3" long) was completely contained in one slab! Lucky me, I did not hit it with the chain. Quite remarkable really.

This picture shows pretty clearly the "guide board" I use on top to make sure that my first cut is straight.


After the first cut is made it is easy to peel the next one (and the next one . . .) using the previous cut as the guide. I wasn't really sure what this one was until I had cut out a couple slabs, and my friend Olaf came by.  Looks like elm he stated. I realized he was right. Another elm that didn't have the telltale stench of elm! With the unusual bark it has to be a different variety of elm from what I normally see.


Now, my storage area is completely full and I have no more room! Well, almost none, I actually have room for nine more slabs. At present, I have 12 slabs leaning against the garage waiting to be stacked in the nine available spaces. Hmmmm.


I have also finished a small piece that shows many of the woods that I have slabbed up at the log dump area. I actually started it as a Christmas (2009) present for a friend, but I am sure I can think of a more topical occasion to give it to him. Can you guess what the woods are in it? The only hint I'll give is that the one which is missing in the picture is cherry!

I also finished up a frame for my 12" Beaver bandsaw, I need to get the motor mounted on it still so no pictures to show. Also went up to the IP open house on Saturday, great show as always, very inspiring. Not a bad week I guess, maybe better than "something close to nothing"!

Friday, April 30, 2010

Catalpa!

This tree got blown down in one of the recent windstorms, of which there seem to have been more than normal this spring.  It’s been sitting down at the cutting area, patiently waiting for me to get to it. Today was the day.

It’s catalpa, which is not a well known tree in this part of the world, native to river valleys in Ohio and vicinity. It is very popular as a street tree, since it seems to withstand pollution very well. It has big seed pods that hang off it all winter, making it quite easy to spot once you know that factoid.

The wood is dark, the grain is kind of like ash but darker, and it has a very distinctive smell when cut.  It is a “hardwood”, but is still relatively soft, close in hardness to chestnut or alder.


I had a couple nice catalpa logs last winter, this is the first decent one I have found this winter. I am pretty sure I'm the only guy in town with several hundred bf of catalpa stacked up beside the house!

Unfortunately the camera died right after I took this first (and thus only) picture. You can see where I was cutting the trunk just at the point where the branches begin. The branches were kind of wild and uneven, I am sure they would have produced a lot of very splitt-y and unusable wood. After I got this cut done, I peeled the rest of the bark off the trunk part, rolled the log slightly to move the knob on top over to the bottom, moved the other chunk with the branches out of the way, and set up my guide (an 8’ long 2x8) on the top.

Conditions were perfect - the sky was clear, the log was on a bit of an angle so that gravity helped the cut, the wind was strong and blew all the dust and exhaust away from me as I cut, and the chains were sharp. I peeled 6 2 1/2” thick by 6' long by about 18" - 24" wide slabs off the log before I came to a bad knot in the wood and decided to call it a day.

Here is the result, temporarily leaning against the garage next to the Elm of Death. The visible face of the catalpa shows the nasty knot that caused me to stop cutting. The other slabs are not that bad.


All in all a very nice day resulting in some very nice wood, and I was there and back in 2 1/2 hours. Only had to stop to sharpen once.

Getting close to the end of the cutting season now, probably only a couple more weeks. It doesn’t matter to me though, I have no storage space left! It's actually good, I will get to spend more time in the shop building stuff.

Monday, April 26, 2010

Mystery Conifer Identified

After several weeks of not really knowing what the mystery conifer was/is, I think it is figured out now.


The trunk is close to four feet in diameter, and you can see the branches are quite large relative to the trunk. I did slab up a branch a couple weeks ago, that was my first introduction to it.  At the time, I was told it was a fir.

The growth rings are quite wide, so obviously it was very happy growing here. Whoever cut it down cut the trunk into pieces about 2 1/2' tall to make it easier to manage. I was skeptical of it being fir, my initial guess was cedar of Lebanon. I posted some pictures on a website specializing in milling, and asked for suggestions. Hemlock seemed to be the most popular suggestion of that group. As I investigated further, in particular by looking at the bark, I realized that it likely was not cedar of Lebanon, but the closely related deodar cedar.


Anyways, today I was down there cutting this round into quartersawn boards (not the one above, it's ugly. The one below.).


I got 12 quartersawn boards out of the half away from the big branch, for a total of about 100 bf. It's a lovely aromatic wood, would make great drawer bottoms or backs of cabinets, similar to Port Orford cedar's uses. There is a contrast between the heartwood and the sapwood though.

As I was cleaning up to go, a guy came by to drop off a load of pine he had cut down. He said that he was the arbourist who had felled the mystery conifer, it came from a house in south west Vancouver, and that it was  . . . deodar cedar!

I was well pleased with my sleuthing. And my cutting.