Wednesday, September 29, 2010

Feeling Good!

I am feeling really excited about the Glider being close to being put in service. I took it all apart again, and my son and I moved it from my garage into my basement shop where I plan to use it. There I completed all the wiring, and started putting it back together for keeps.

The fact that the sandblasting shop lost a number of pieces quickly became an issue. I had to custom order several items from Fastenal. Several pieces had damaged threads on them, so badly damaged that I had to take them to a machine shop to be rethreaded.  I am also awaiting a portion of the tabletop from a fellow in Massachusetts, the sandblasting shop managed to lose my original, luckily for me this kind fellow is giving me a spare that he has. Anyways, the upshot is that the project is mostly stalled for a week or so until I get these parts all in.

I just hope that the saw lives up to its billing, unlike the Parks Planer which I have never successfully dialed in!

However, I did solve THAT problem by picking up a good condition General 130 14" planer. It's from 1966 I believe, and a more precision tool than the Parks. It has a 3 phase motor on it, so I have a TECO VFD on order and as soon as it gets here I'll put the General into service and then it is goodbye Dewalt plastic piece of sh*t planer and goodbye to Parksie too. And hello to a bit of extra space! I'll miss Parksie though, my son and I put a lot of time and $$$ into it. We did learn a ton from the process though too.

 14" General 130 Planer

 12" Parks Planer (AKA Parksie)


Friday, September 24, 2010

Slowly Coming Together

The Glider re-assembly continues. I have spent a lot of time removing paint from machined ways, threads, etc, but I think/hope that it's getting close.

The tables are all cleaned and fitted, the ball bearings are in, the micrometer gauge, finger and clamp are fitted on the tabletop, and the arbor is (temporarily) attached. Last is the raising mechanism, then I want to go through the motor myself before I attach it.


Meanwhile, the kilning has gone slowly. Who knew that it would take time to 'dial in' a new dehumidifier?? I thought you bought them, plugged them in, and forgot about them! However, the present load is getting close to being ready to take out, maybe even this weekend.

I did get out and slab up some beech the other day, first slabbing of the fall season and also the first beech I have ever slabbed. It was a bit short, but tough and hard work. The wood has some nice spalting in it.

Thursday, September 16, 2010

Hammond Glider Goes Back Together

I put a second load in my DH kiln. A mix of catalpa, elm, and Monterey cypress. Winter '09 was definitely the year of elm/catalpa! The dehumidifier died though, after four faithful years of hard service. I replaced it with a new one and things are dehumidifying away!

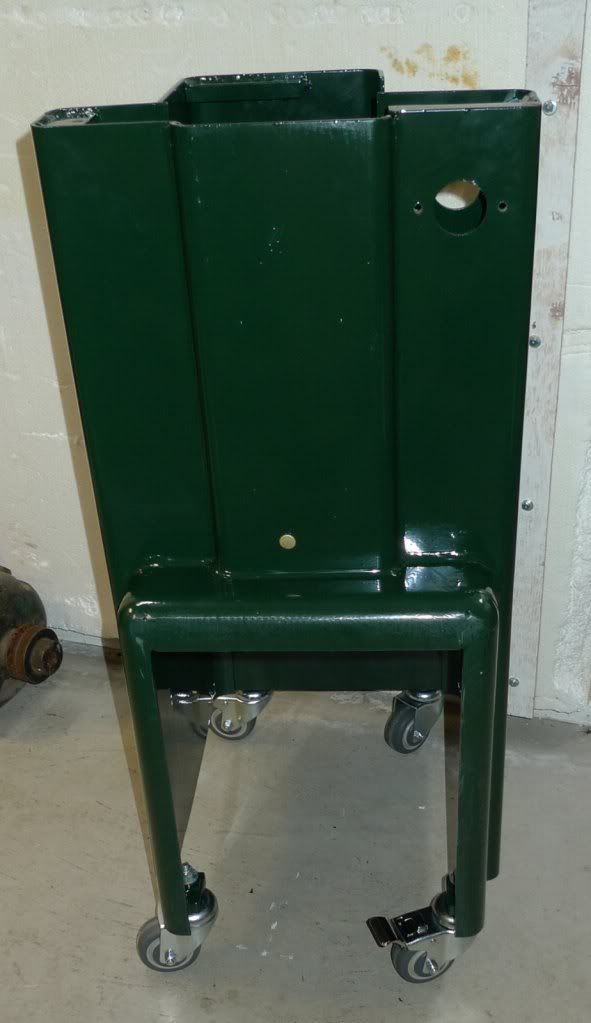
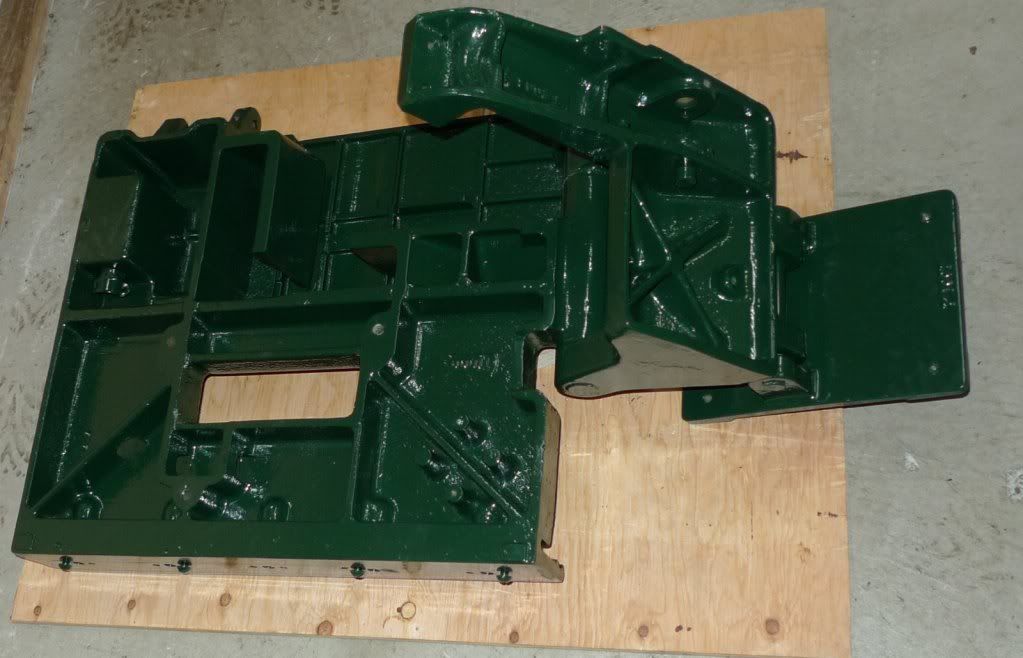
The Glider finally came back from the powder coating shop this week. It is very green! When I selected the colour at the shop, I swear it was a lot darker. Ah well, it's done now.

Stand on Wheels

Underside of Tabletop

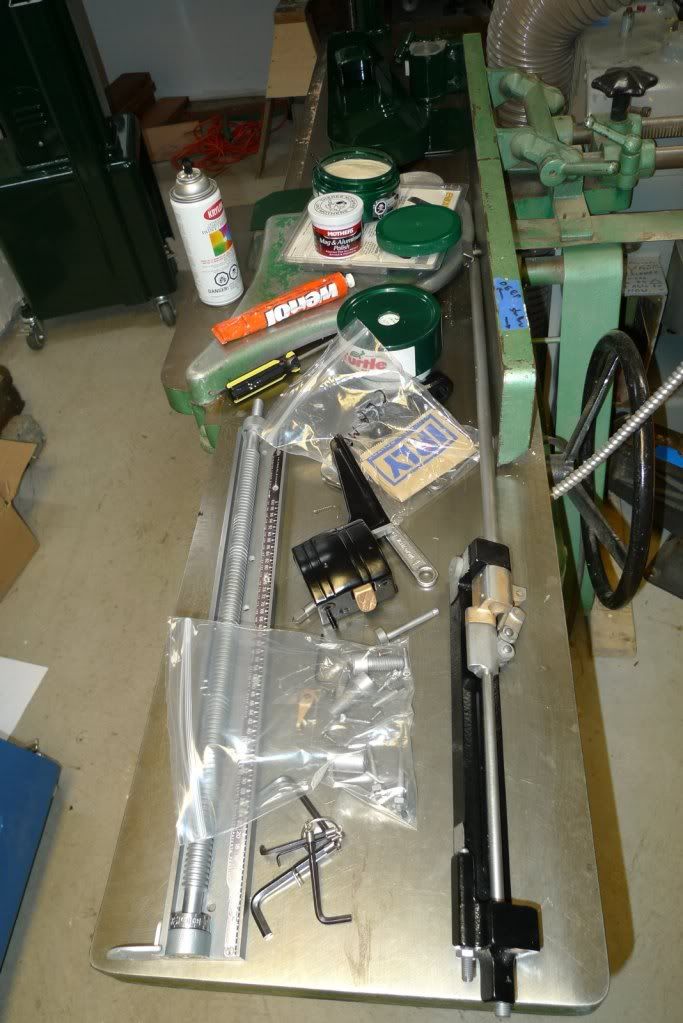
Infeed Table of Jointer Makes a Fine Assembly Table!

I've started the reassembly, only to quickly discover that I did not document well the disassembly, so it's a bit of a challenge. Also, a couple pieces have gone astray, so I will need to replace them somehow. 

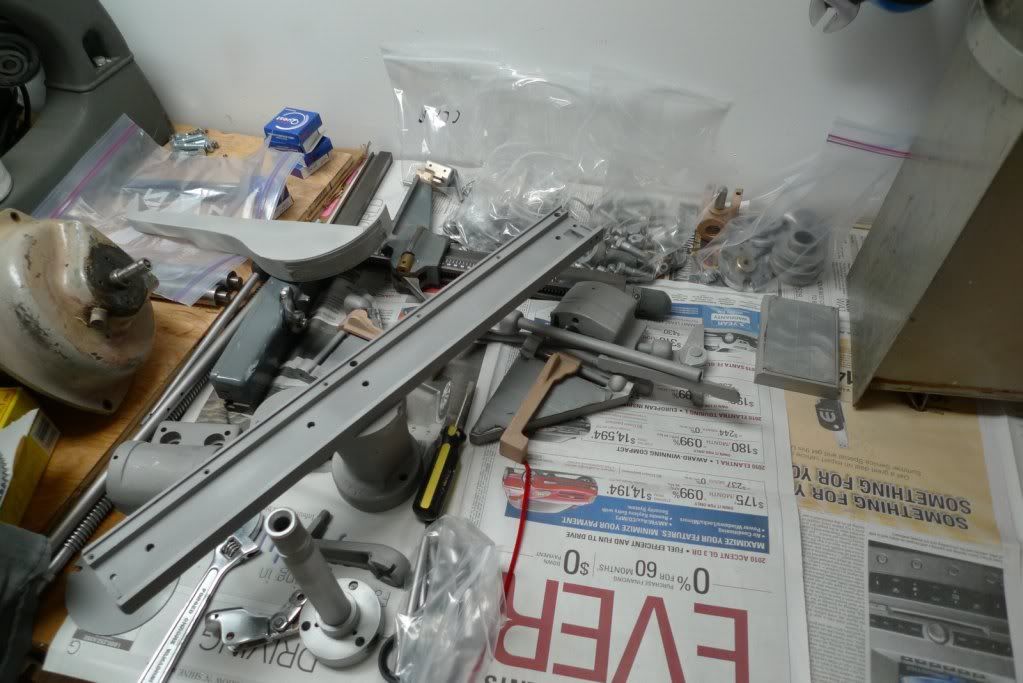
I am super happy with the media blasting, it took all the crap off and got right to the bare metal. It left an attractive texture on the bronze/aluminum pieces. Chrome did not fare so well but is still salvageable.

The jury is still out on the powder coating though. Clearly it saved me a ton of time, and I am happy with the finish. The shop did not do a good enough job of covering up threads, machined surfaces, etc. which means I will be spending some time removing paint from these areas. The areas they did mask, when they removed the mask, it tended to rip the coating and leave a very rough edge. I had to buy a pint of matched paint at a local paint shop for touching up these areas.

Lastly, it appears that log cutting season is here already, a full 5 weeks ahead of last season's start. I'll be down there tomorrow, hope to cut some beech and possibly alder. There is some oak, plenty of maple, and some PO Cedar down there ready to cut up over the next while. I will have to learn to be more picky this year, I really only have room for 20 new boards right now!

Thursday, September 2, 2010

Focus!

A problem I frequently have is getting bogged down in multiple projects. I  have to constantly avoid the temptation to start a new project before the current one is finished, otherwise I find myself overwhelmed with a shop full of uncompleted projects.

This week has been a good lesson in that.

The current project is the Hammond Glider restoration. The unexpected arrival of the Morrison saw last week and the commensurate excitement for it almost threw a wrench into things. But when I realized that there is more work on the Morrison than I originally thought, I decided to leave it for now and stay focused on the Hammond.

The Hammond has a number of parts that need painting. I learned the hard way that trying to repaint something like this with spray cans of Rustoleum is an exercise in total frustration. And a false economy.

Powder coating is the way I have decided to go, and I have dropped off the parts at a local powder coating shop.  I am anxious to have the powder coating completed so I can commence reassembly.


For the yellow cedar-lined cabinet that I am planning, I continued to search for the 'ideal' piece of wood for the outside. As I pawed through my wood pile again and again, the realization slowly dawned that  perhaps I don't actually possess the piece of wood that I want for this cabinet! I understood then that I was approaching this process the wrong way. It should be more  with the with the selection of the wood influencing the design of the cabinet, rather than trying to force a certain design on a piece of wood.

This insight was tremendously liberating and reinvigorating, and actually increased the number of possible candidates for the outside. Of course, the shape and design of the cabinet will now be somewhat different depending on the wood I choose, its pattern, colour, texture, weight, etc. But that's all part of the journey.

Crabapple                                          Red oak
In any event, my intent right now is just to select the wood and cut it roughly to size. My hope is that it will dry more while I finsish up the Glider, then I'll be ready to focus on it!

Lastly, my first kiln load is now dry, it's down to around 8.5% MC. I am happy it only took two weeks. At this rate I should have three more loads done by the middle of October when the wet weather settles in for fall.

 Two Pieces of Catalpa in Kiln After Drying

Wednesday, August 25, 2010

Back in the Saddle

Well a month of summertime activities are winding down for me and I am getting back focused on shop stuff.

I continue to go through my wood inventory looking for a suitable exterior wood to work with the yellow cedar interior showcase cabinet I am planning for my next project. No winner has emerged yet, although rift sawn oak is the current front runner.

The Hammond Glider tablesaw has returned from the media blasting shop. I am very happy with the results, all the parts are completely clean, and the shop did careful and sensitive work on the many smaller parts. I have decided to powder coat it, I will need a few days to prepare it for this step. A few parts will need to be rechromed as well, then I will be ready to commence the reassembly.

Saw As Purchased

Stand After Media Blasting

I managed to score yet another printer's saw, this one an even more obscure brand, Morrison. It does not have the ball bearing sliding table of the Hammond, but is still a precision instrument for crosscutting. It had already been converted from lead type cutting to woodworking, so I thought there was no lead dust left on it. Unfortunately when I got it home this proved not be the case, I will need to spend some time cleaning it but it is nowhere near as bad as the Hammond was. I am excited about this one and hope to have it up and running in the shop quickly.


I put my first load of the season in my dehumidifier kiln recently. These are slabs that I cut the winter before last so they have had two full summers air drying outside. Several weeks of gentle drying in the DH kiln should bring these slabs' moisture content down from 14% to about 8%. By Christmas time hopefully I will have run a couple thousand board feet of locally harvested spalted maple, catalpa, elm, cypress, etc. through the kiln.

Finally, a small triumph.I was able to level the tables on my antique 8" General jointer and set up the cutterhead so as to completely eliminate snipe, thanks to a 4' Starrett Machinist's level I recently purchased. I look forward to using this simple but fine tool to help me dial in a number of my other antique woodworking tools.

Saturday, July 24, 2010

Hammond Glider Teardown Finished

After the arbor I focused on getting the motor off. Conceptually it was easy, since the motor was bolted to threaded holes in the motor plate and all the bolts were easily accessible.

Practically though, the motor is extremely heavy, covered in a thick coating of lead dust, and mounted to the underside of the motor plate. Thus it would be all too easy to have the motor come crashing to the floor while removing it, sending up a cloud of toxic dust while also damaging it.

So I first bagged the motor up in a couple plastic bags in an attempt to contain any dust.


Then I clamped the motor's "feet" to the motor plate so it wouldn't fall as I took the bolts out. Finally I made a simple ramp from the saw to my van out of a couple pieces of plywood. I dropped the motor onto the plywood and pushed it into the van.

Once the motor was off and in the van, I turned my attention to the main table casting. It is held on by three large machine bolts. These provided only token resistance and were easily removed with a humongous Allen key.


The table was shimmed at the factory under these three bolts, so it was critical to not dislodge or lose track of any shims as the table was removed. Further, the shims needed to be marked so that they could be reassembled in the same position.


 I slid the table onto the same plywood ramp I used for the motor, then pushed it into the van.


Lastly was the base itself. Although I could not lift it, I was able to tilt and slide it into the van on my own.

I then disassembled the smaller assemblies which I had not done at the start, mainly the arbor and the clamp. With everything apart, it's off to the media blasting shop next!

Wednesday, July 21, 2010

Hammond Glider Teardown

The Hammond is a super high quality heavyweight small sized sliding tablesaw originally designed for cutting lead type in the printing industry of yore. Its small footprint, heavy duty construction and precision make it a desirable saw for crosscutting. It is a "cult" saw in some ways, popular among the old woodworking machines crowd.

The superguru on Hammond Gliders is Crazy Pete. He runs his own forum on them, although there is a ton of info on OWWM too.

(This is not mine, but shows what they look like)

I acquired one of uncertain age (40's? 50's?) that is complete but filthy with lead and dust, and so needs a teardown followed by media blasting and repainting. A new motor is also very likely, as are some minor modifications to allow it to take a standard sized tablesaw blade.

(This is not mine, but shows how the Hammonds work)

After taking off as many of the smaller items as I could, the sliding portion of the tabletop was the first big item I tackled. The table slides on linear ball bearings, one race of 7 bearings in a carriage on each side of the sliding portion of the table. By the end of the day my first mishap had occurred.

I finally figured out how to pull the sliding table completely off, and as I did so the rather large ball bearings dropped out neatly into a well placed cardboard box. "Oh I am so clever" thought I. The last one missed, rolled out the garage, down the driveway, and was making a getaway towards the (sloped) alley. I quickly put the table down on the box and went after the little rascal. As I did I heard a crash, the table fell off the box, knocking the box over, I turned around to see the other 13 bearings rolling out of the box down the driveway and making their escape. Eventually I rounded up 13 of the 14. I'm hoping that'll still work OK, if not I will probably have to buy 14 new ones as I would expect the old ones would have worn slightly.

( Sliding table off, just resting on top)

Next was the arbor. A couple of spanner nuts proved obstinate, requiring the purchase and modification of a special (hard to find but luckily inexpensive!) tool to remove them. This was after a couple of drill bits were sacrificed in a vain effort to get the first spanner nut out.


Penetrating oil was applied generously and left to soak overnight before success was ultimately achieved. The two spanner nuts and the pulley were removed. The arbor assembly was then removed from the saw.  I'll take the assmebly into a shop to get the bearings pressed out. They will be replaced.


Notice the very thin shim that was under the arbor assembly. Factory installed to ensure that the blade is perfectly square to the table. 


Next up, taking off the beast of a motor, removal of the main table casting, and off to the media blasting shop.