Several years ago I spotted a cabinet by Seth Janofsky. He incorporated some unusual pine panels with tiny pitch pockets in the grain. The frame is cherry and the interior is I believe red oak.

I really admired the clean lines of the piece, and the use of the unusual pine was charming but not overblown. It was discrete even though it was right in your face!
As a bonus, it was designed for the front and sides to be removable and then it becomes a display cabinet. Realistically probably would not see much use in this manner, but a nice touch.

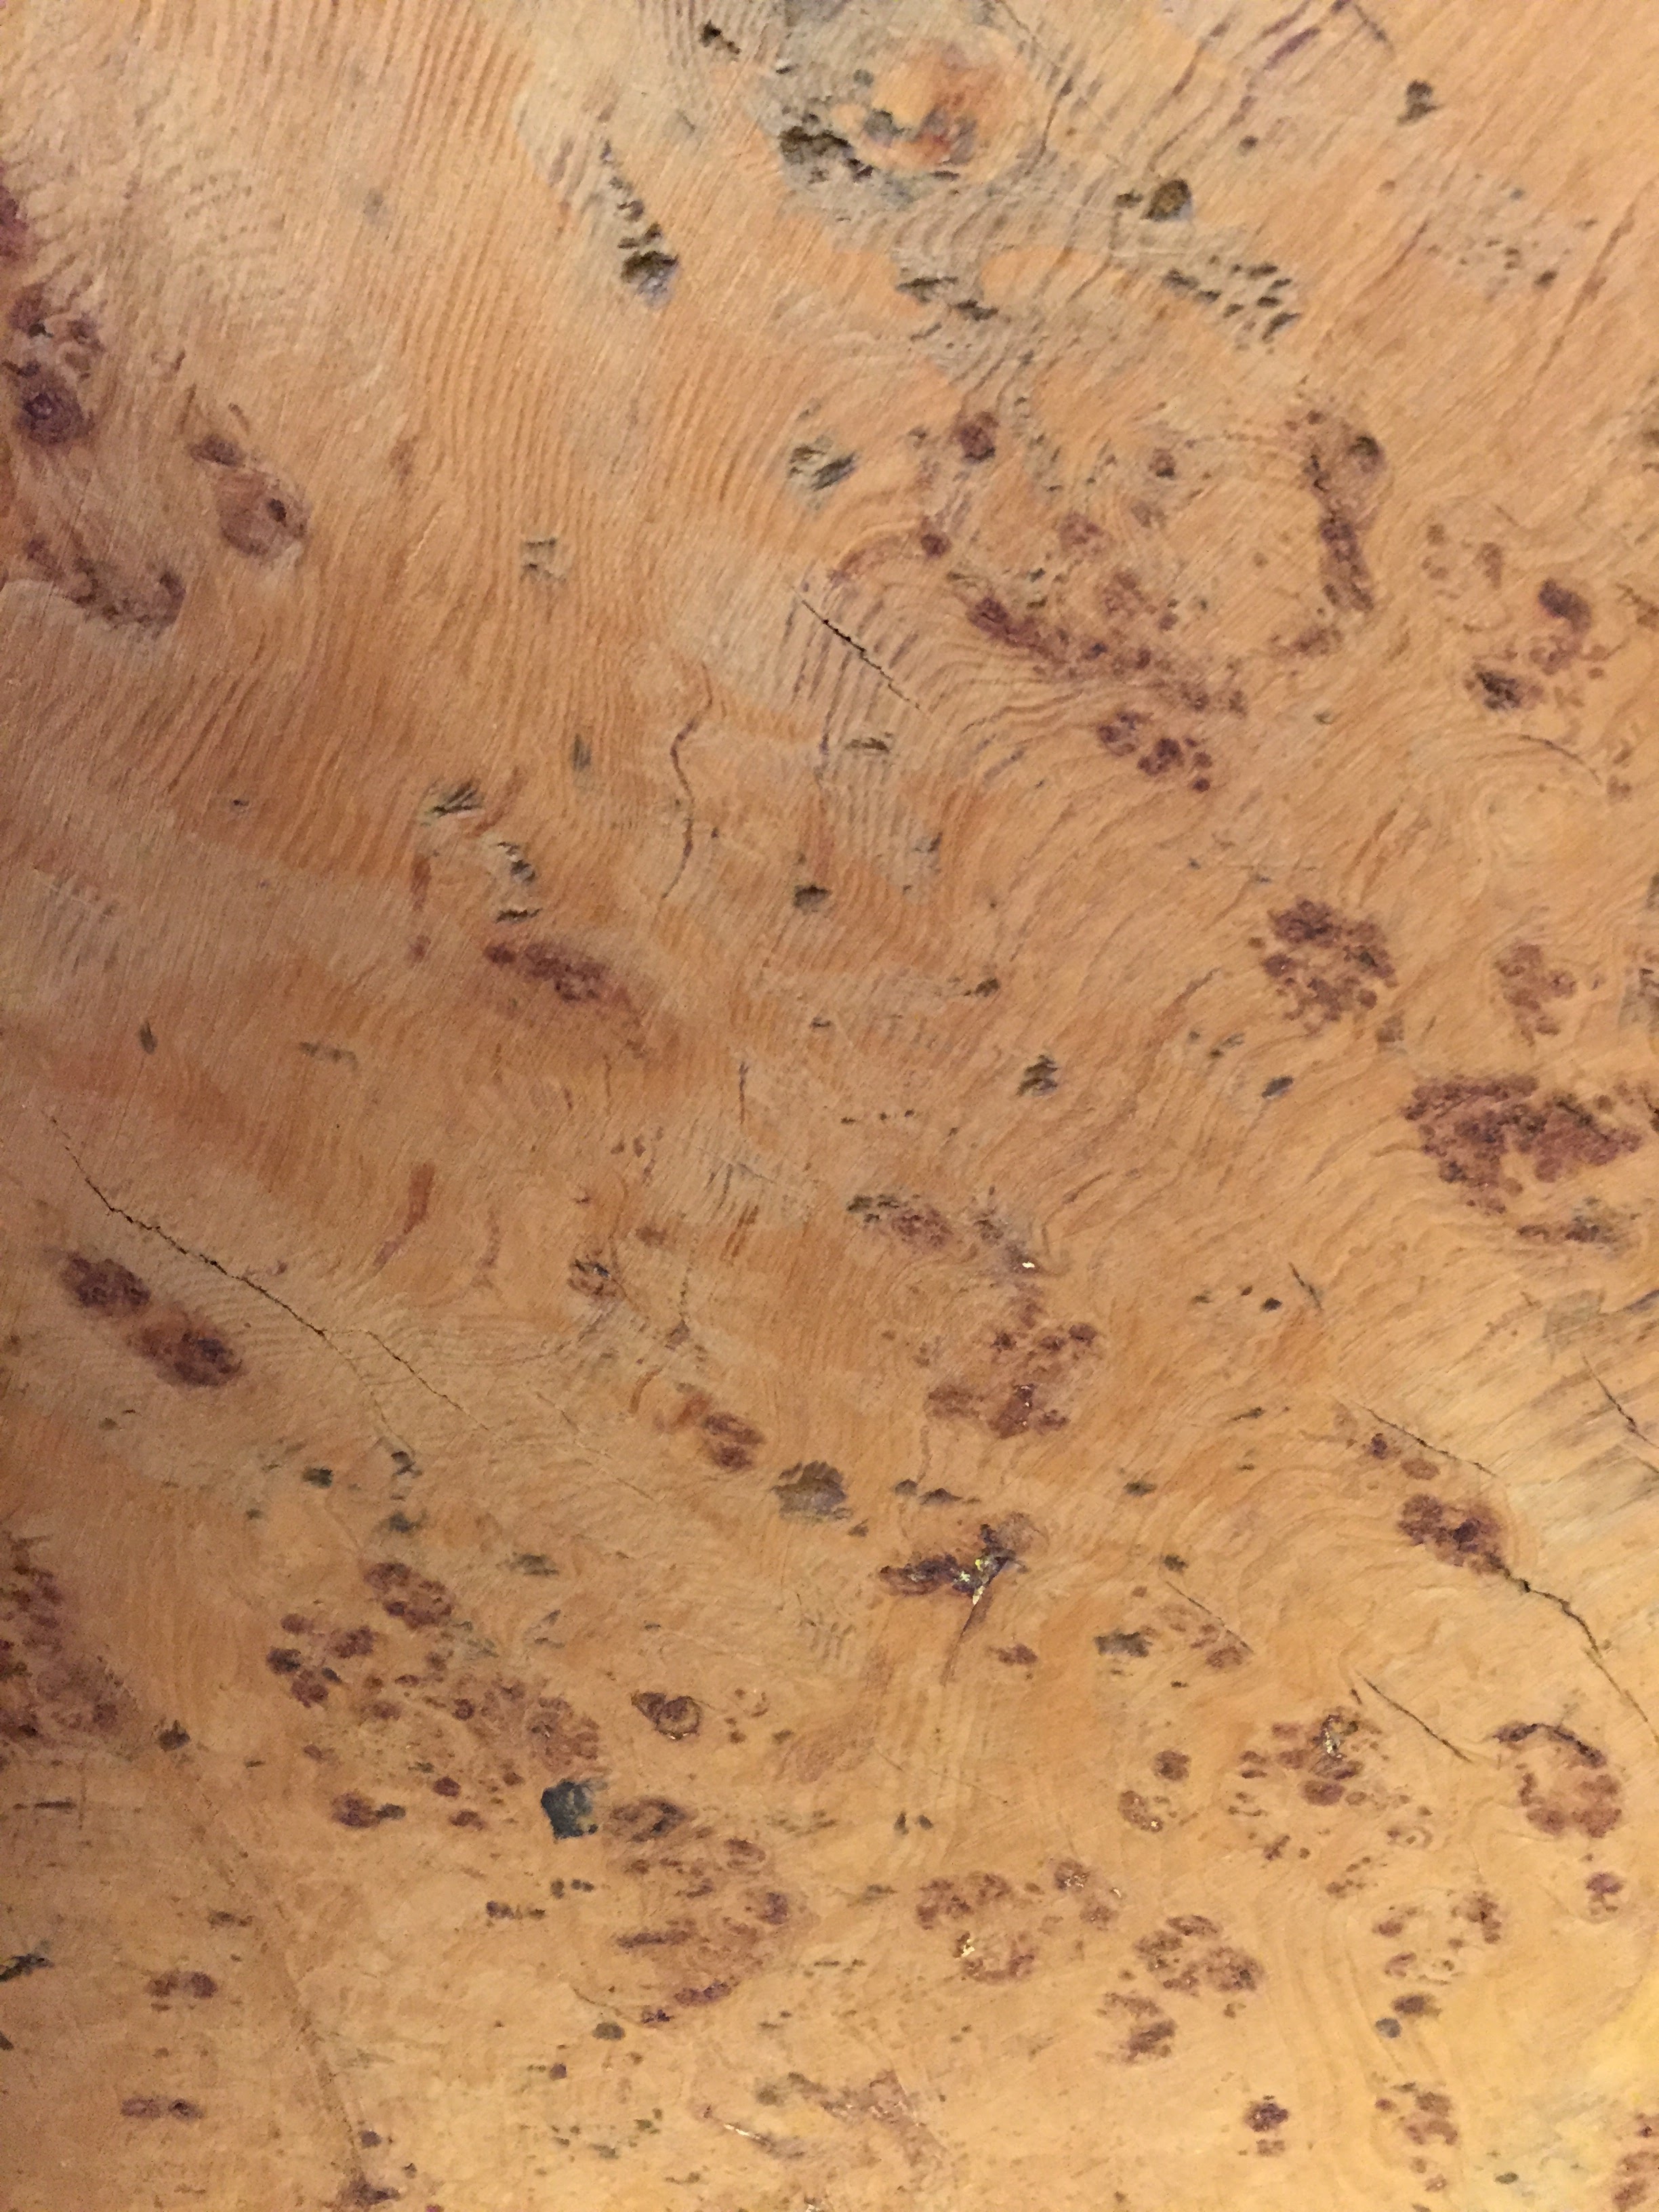
So I decided to make a cabinet based on this, as I had some Doug fir with a rare burl pattern in it.
The Doug fir had a good backstory, as it was given to me years ago by my dad's cousin who has now passed. He told me that his dad was burning a bunch of scrap wood 50+ years ago and had tossed this piece into the fire, so he rescued it. Many years later as he was getting older and knew that I was interested in woodworking he gave it to me. It still had scorch marks on it when I received it from him!

For the interior I had the last of the straight grained Port Orford cedar that I had chainsaw milled myself into slabs probably ten or fifteen years ago. And for the frame I had some Kwila, a very hard and heavy tropical wood, that I had purchased several sticks of many years ago in a lumberyard in Chilliwack. Kwila was apparently a favourite wood of James Krenov's, and it goes by many different names, none of which I have heard of either!

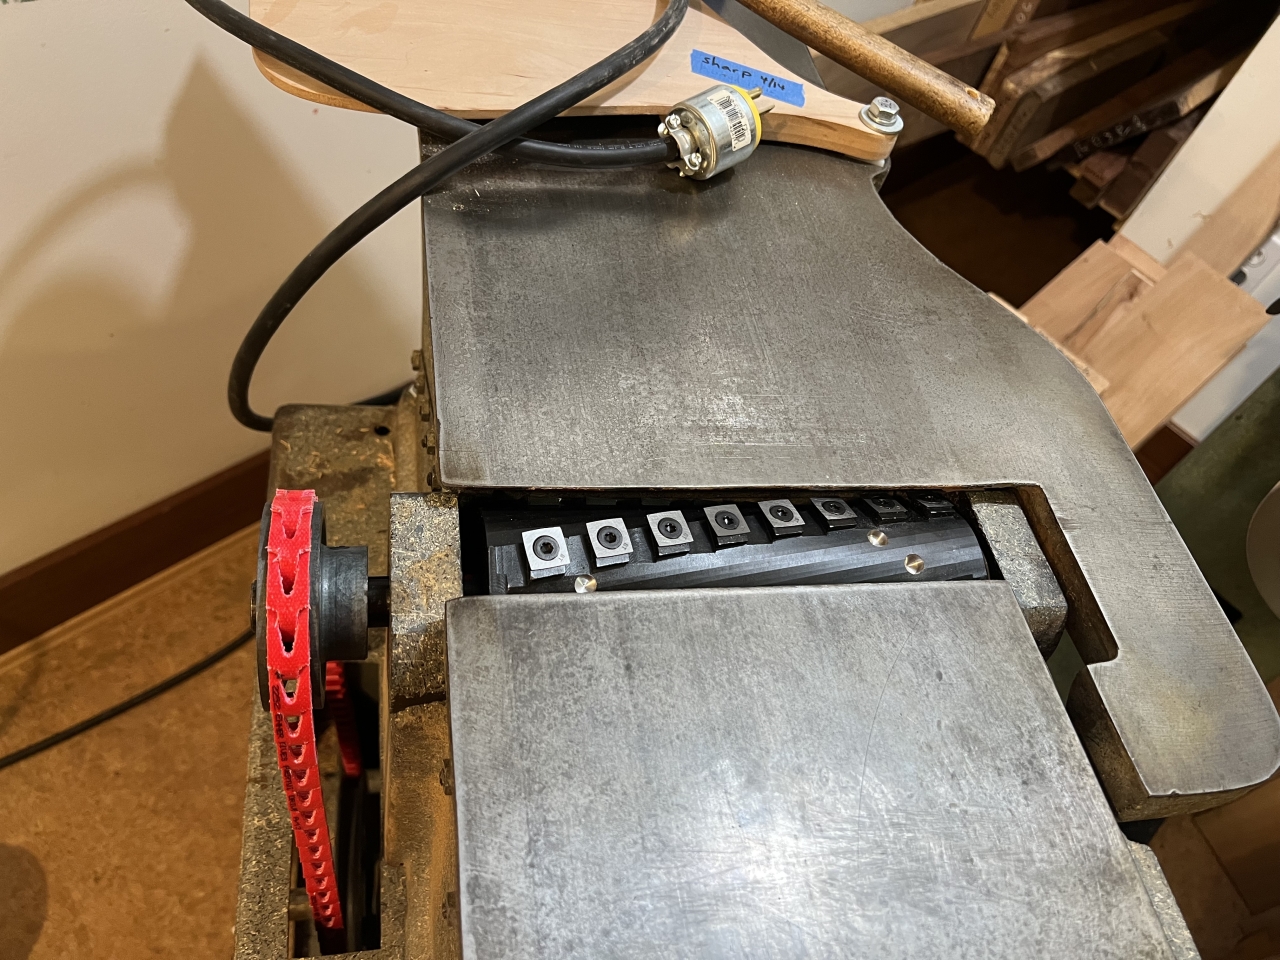
The panels were going to be veneered, with the fir on the outside and the cedar on the inside. So the first order of business was to cut the veneers on my bandsaw. I was careful to make sure that the face of the veneer which was going to be visible was jointed and handplaned smooth before I cut each piece off.

Once that was done I glued up the panels with a layer of thin commercial veneer in the middle, using a vacuum bag veneer press I purchased. No good pictures of that process, but here is the end result: Two foot long panels with the Doug fir on one side and the PO cedar on the other.


The kwila is so hard to handplane, even though my plane blade is made of hard steel, it requires frequent resharpening. I also picked up a splinter of it in my thumb several months ago which I cannot seem to get rid of.
So that is where I am at now. Next I am planning to mock up the frames for a couple of panels. Once that is done I can nail down the exact dimensions and start cutting the Kwila up to length. I calculated there will be 54 separate pieces so I have some work ahead of me!