
left to right- olive/Monterey cypress, Garry oak, olive/maple, alder/Monterey cypress, myrtle/cherry
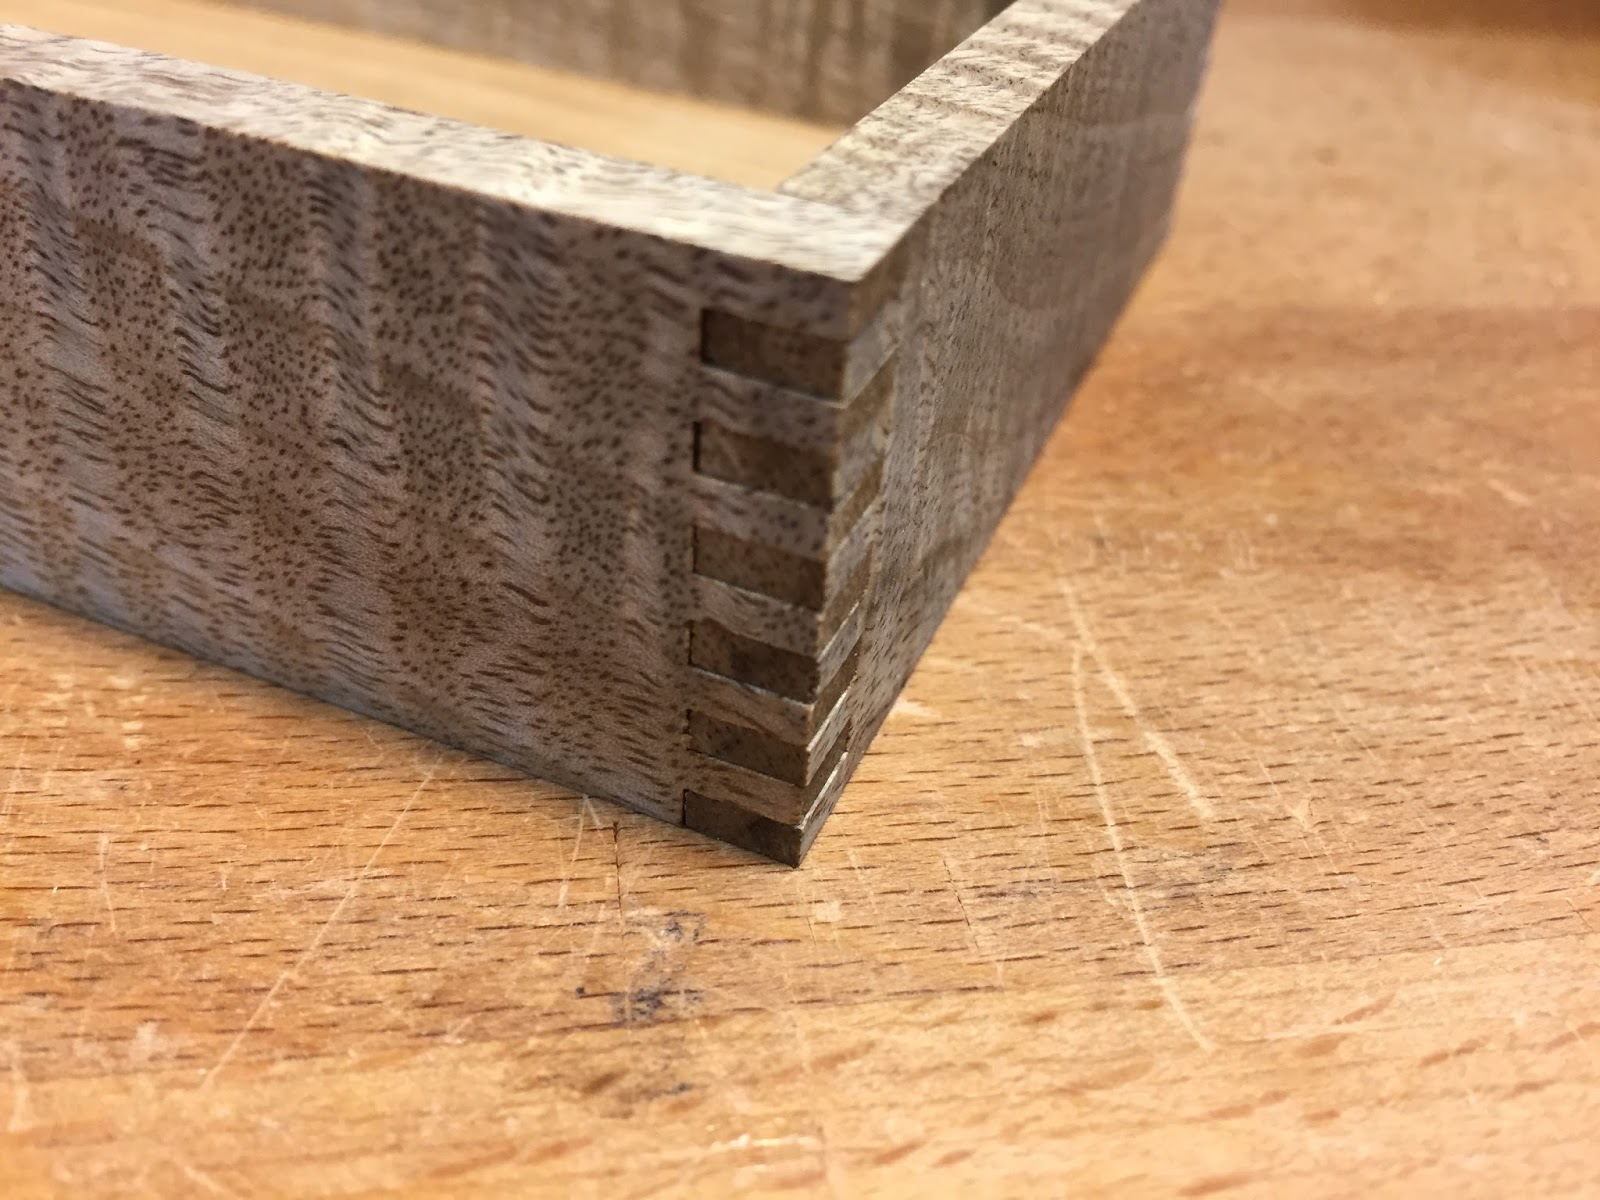
I learned that my technique for cutting the finger joints on my sliding table saw was not precise enough. I think the work holding method I was using was part of the problem, but also I think that the sliding tablesaw has a bit of play in it too. I need to give some thought to this problem before I make any more boxes, especially any with taller sides where the problem is worse.
I also learned that the myrtle, despite having an exciting tiger stripe figure, was not really that attractive a colour.
I knew going in that some of the boxes were not going to have the right proportions, and I wanted to experiment with them. I think the issue turned out to be more about the thickness of the material rather than the actual dimensions of the box.
Only the myrtle box has a recessed bottom, all the others are just glued on. The glued on bottom worked best when the bottom material matched the sides. The olive box with the glued on maple bottom is an especially bad combination. Also worried about the longevity of the glues on bottoms, if they will split over time.
The Monterey cypress has given me problems in the past with sap coming out. So I tried to set the sap using high heat in a toaster oven. That has worked for me in the past.

It's funny how no matter what the project is, the lesson is always the same. Don't take shortcuts, you won't be happy in the long term!