Progress on the cherry table!
I did all the rough cutting with a flat top bevel blade on the table saw. It worked pretty well, I trimmed joints to the correct width using a chisel guided by this straightedge.

Getting these long skinny bridle joints fitted was a challenge! Had to cut them on the bandsaw initially, then the rest by hand.

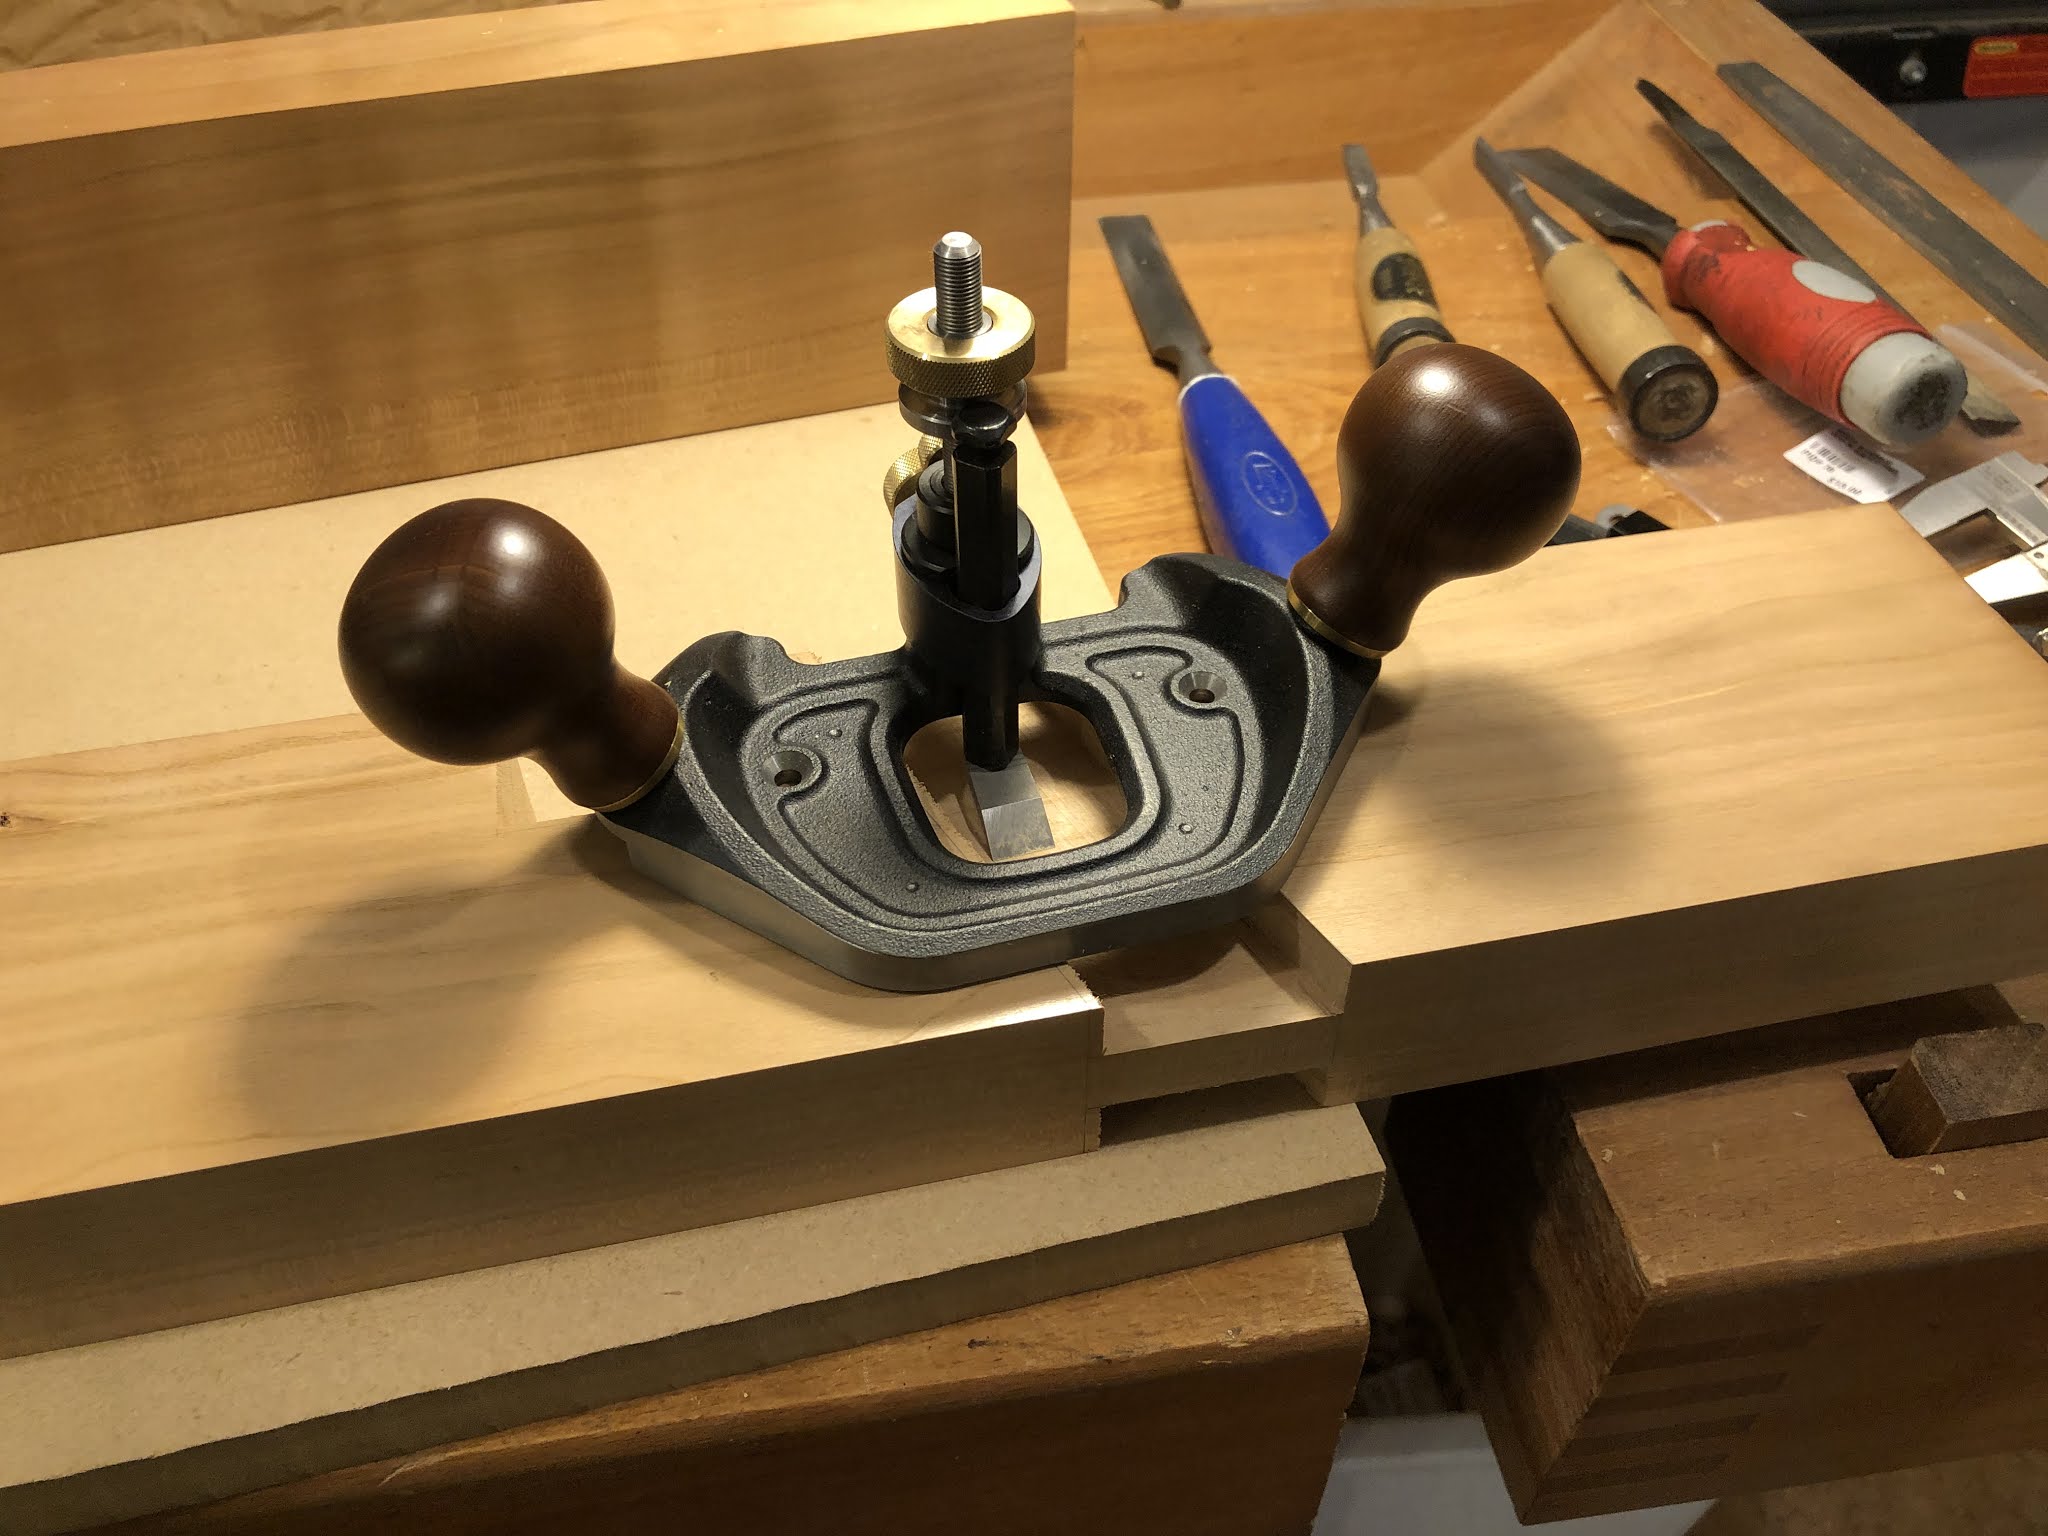
This router plane was super helpful for cleaning up the bottoms of these joints. I bought it specifically for this project from Lee Valley after I saw Ryan using it a while ago and giving it the thumbs up! I would use it again, a good acquisition.
The bridle joints going together.

Finally the bridle joints are home! The 'arms' are in position. One of the arms had developed a bit of a twist to it, which complicated things a bit. I managed to plane it out in the area of the bridle joint, so the final fit was OK. Tight but a bit of a gap.

I trimmed the arms to length, then got the two 'feet' fitted. That turned out to be easy as I accidentally cut them both a bit oversize so they are looser than I would like! But minimal fitting time was required. May glue in some shims, or run a couple screws up from underneath. Probably both!
In retrospect I should have used a different joint here, the gluing is all end grain. I also had a bit of tearout on the edges of the joint which I am going to struggle to hide.
Only one foot showing in this photo below. I need to trim the feet to length and to put a slope on the tops and ends of them. But the fitting of the major components of the base is now complete.

Next up will be a piece that sit on tops of the arms which the tabletop will actually rest on. I'm calling these the 'hands'. I'm planning on putting a tenon on the end of each arm that will fit into a mortise on the bottom of each hand. The tops of the hands will be cut parallel to the ground for the top to rest on.
I feel like the end of this project is within my grasp.
No comments:
Post a Comment