Friday, April 9, 2021

Cherry Table Progess!

 It has been an astonishing month here at the Slow Woodworker. For no apparent reason there has been a real burst of activity and good progress to show for it!

 Spine/feet/arms were completed as of our last update. I know I'm a bit loose with the terminology.


OK  skeptics here are both feet in place.


After all this it was time for the last bit of joinery work, the mortice and tenons between the arms and hands. I think of them as wrists! 


I started with the mortices on the bottom of the hands, using a 3/4" Forstner bit on my horizontal morticer, then tidying them up.

First I used 'the sport of freehand morticing' with an end mill on the horizontal morticer. But I hate that so much I clean ed up as much as I could with a chisel, then just did a final pass with the end mill.

At some point I discovered that I had used the 5/8" bit instead of the 3/4" bit. Whaaat? How does that happen? Well at least it was not a bigger bit. My punishment was more effort on the cleanup. Lesson learned, again. Must stay 100% focussed!


Next step was the tenons on the arms, cutting on the Hammond Glider with a freshly sharpened blade. Sharpening makes such a difference!


I am so grateful to Robert at the IPSFC for teaching me how to make mortice and tenon joints quickly and properly.Once the tenons are rough cut to size on the first the tablesaw then the bandsaw, I dialed them in using my shaper to pare the cheeks down to a perfect fit. Using the dial gauge with the magnetic base I can dial in the fit to within a thousandth of an inch!


OK of course it was not that easy, the other arm still had some twist in it so I had to tape on a feeler gauge to make the cheeks parallel on  it. 


It's amazing how things kind of stumble along during a project then suddenly it all fits together, and BOOM!


BOOM BOOM!


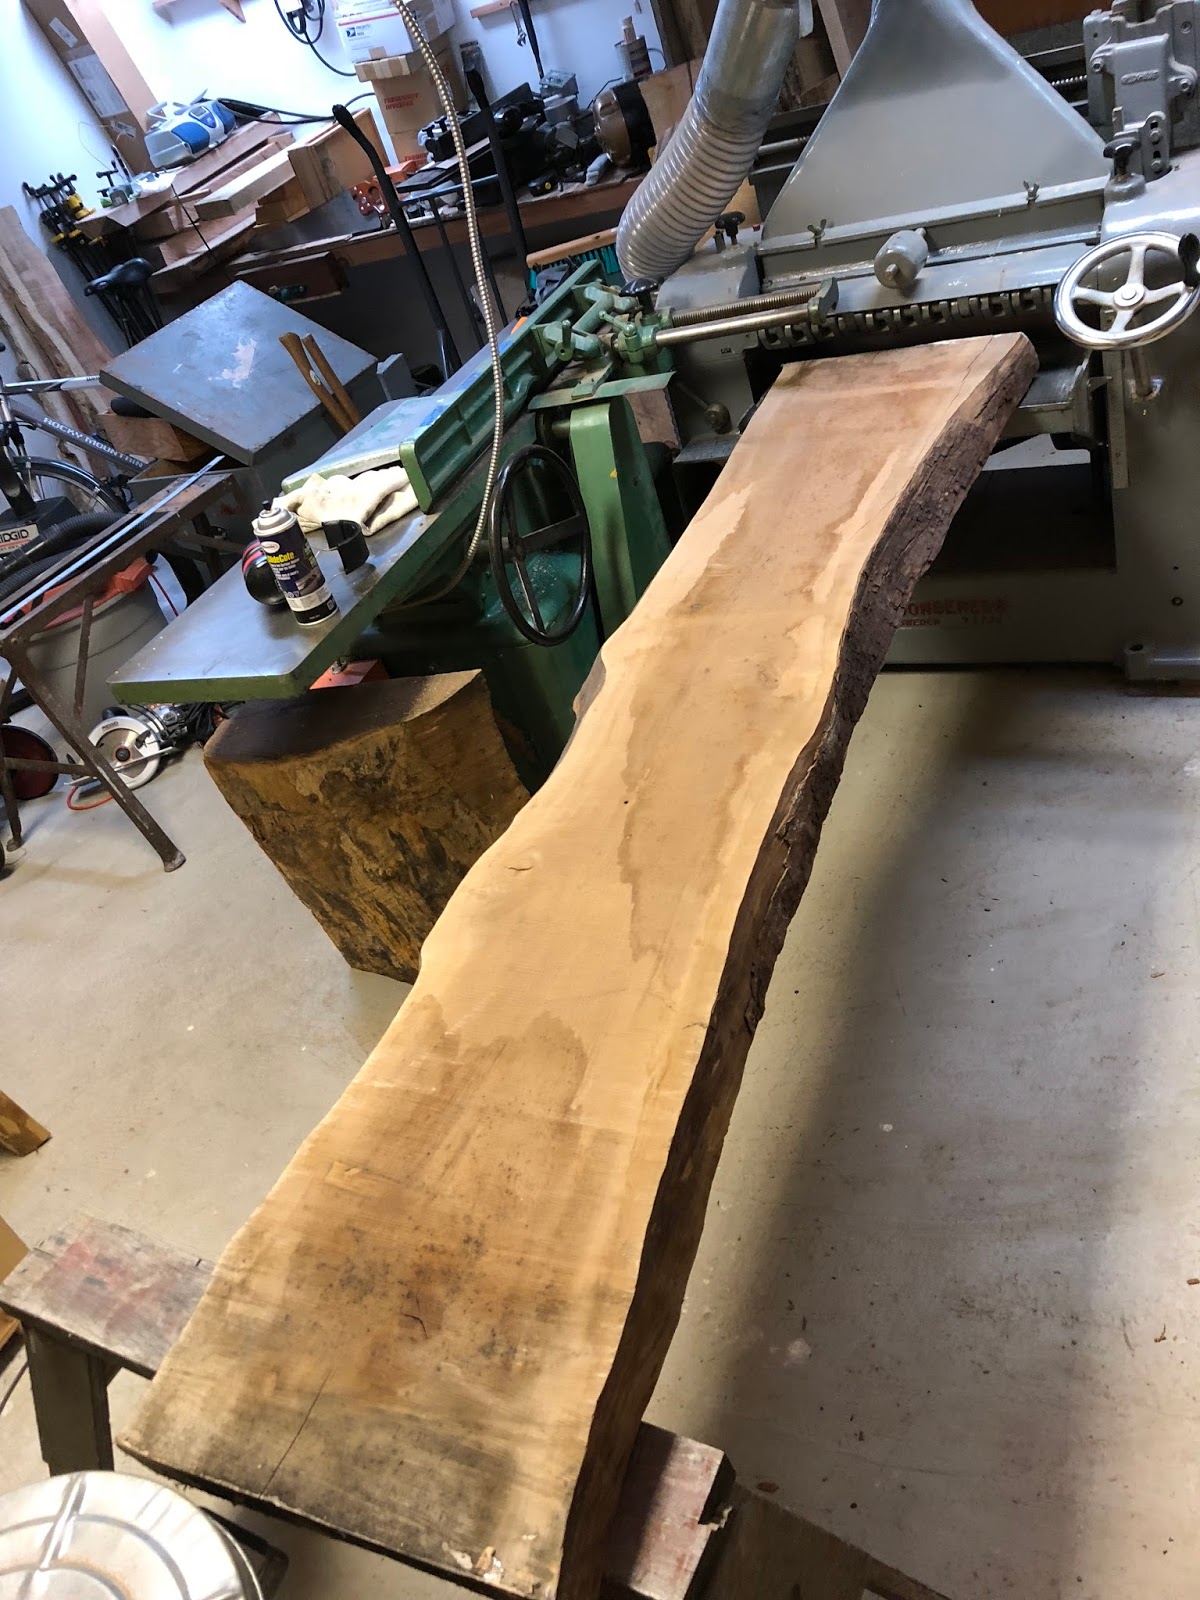
I have decided to use this slab as the top. I will probably have to use some dovetail keys on it, but I think it will work nicely. Plus my daughter likes it. So what else matters! 

Next up will be to trim the slab and make up the keys. I have never made keys before so it will be a journey. Plus there is still plenty of fussy fitting on the base to go through still. I will save final trimming of the hands and feet to near the end. 

I should also mention that I screwed up the height somehow, despite massive deployment of trigonometry. 


I wanted the finished height to be 16.5", but it is 16.5" now, and need to trim the hands still. It's probably going to wind up at a hair under 16". C'est la vie.






Sunday, April 4, 2021

Cherry Table in the Thick of it

 Progress on the cherry table! 

 I did all the rough cutting with a flat top bevel blade on the table saw. It worked pretty well, I trimmed joints to the correct width using a chisel guided by this straightedge. 


Getting these long skinny bridle joints fitted was a challenge! Had to cut them on the bandsaw initially, then the rest by hand.


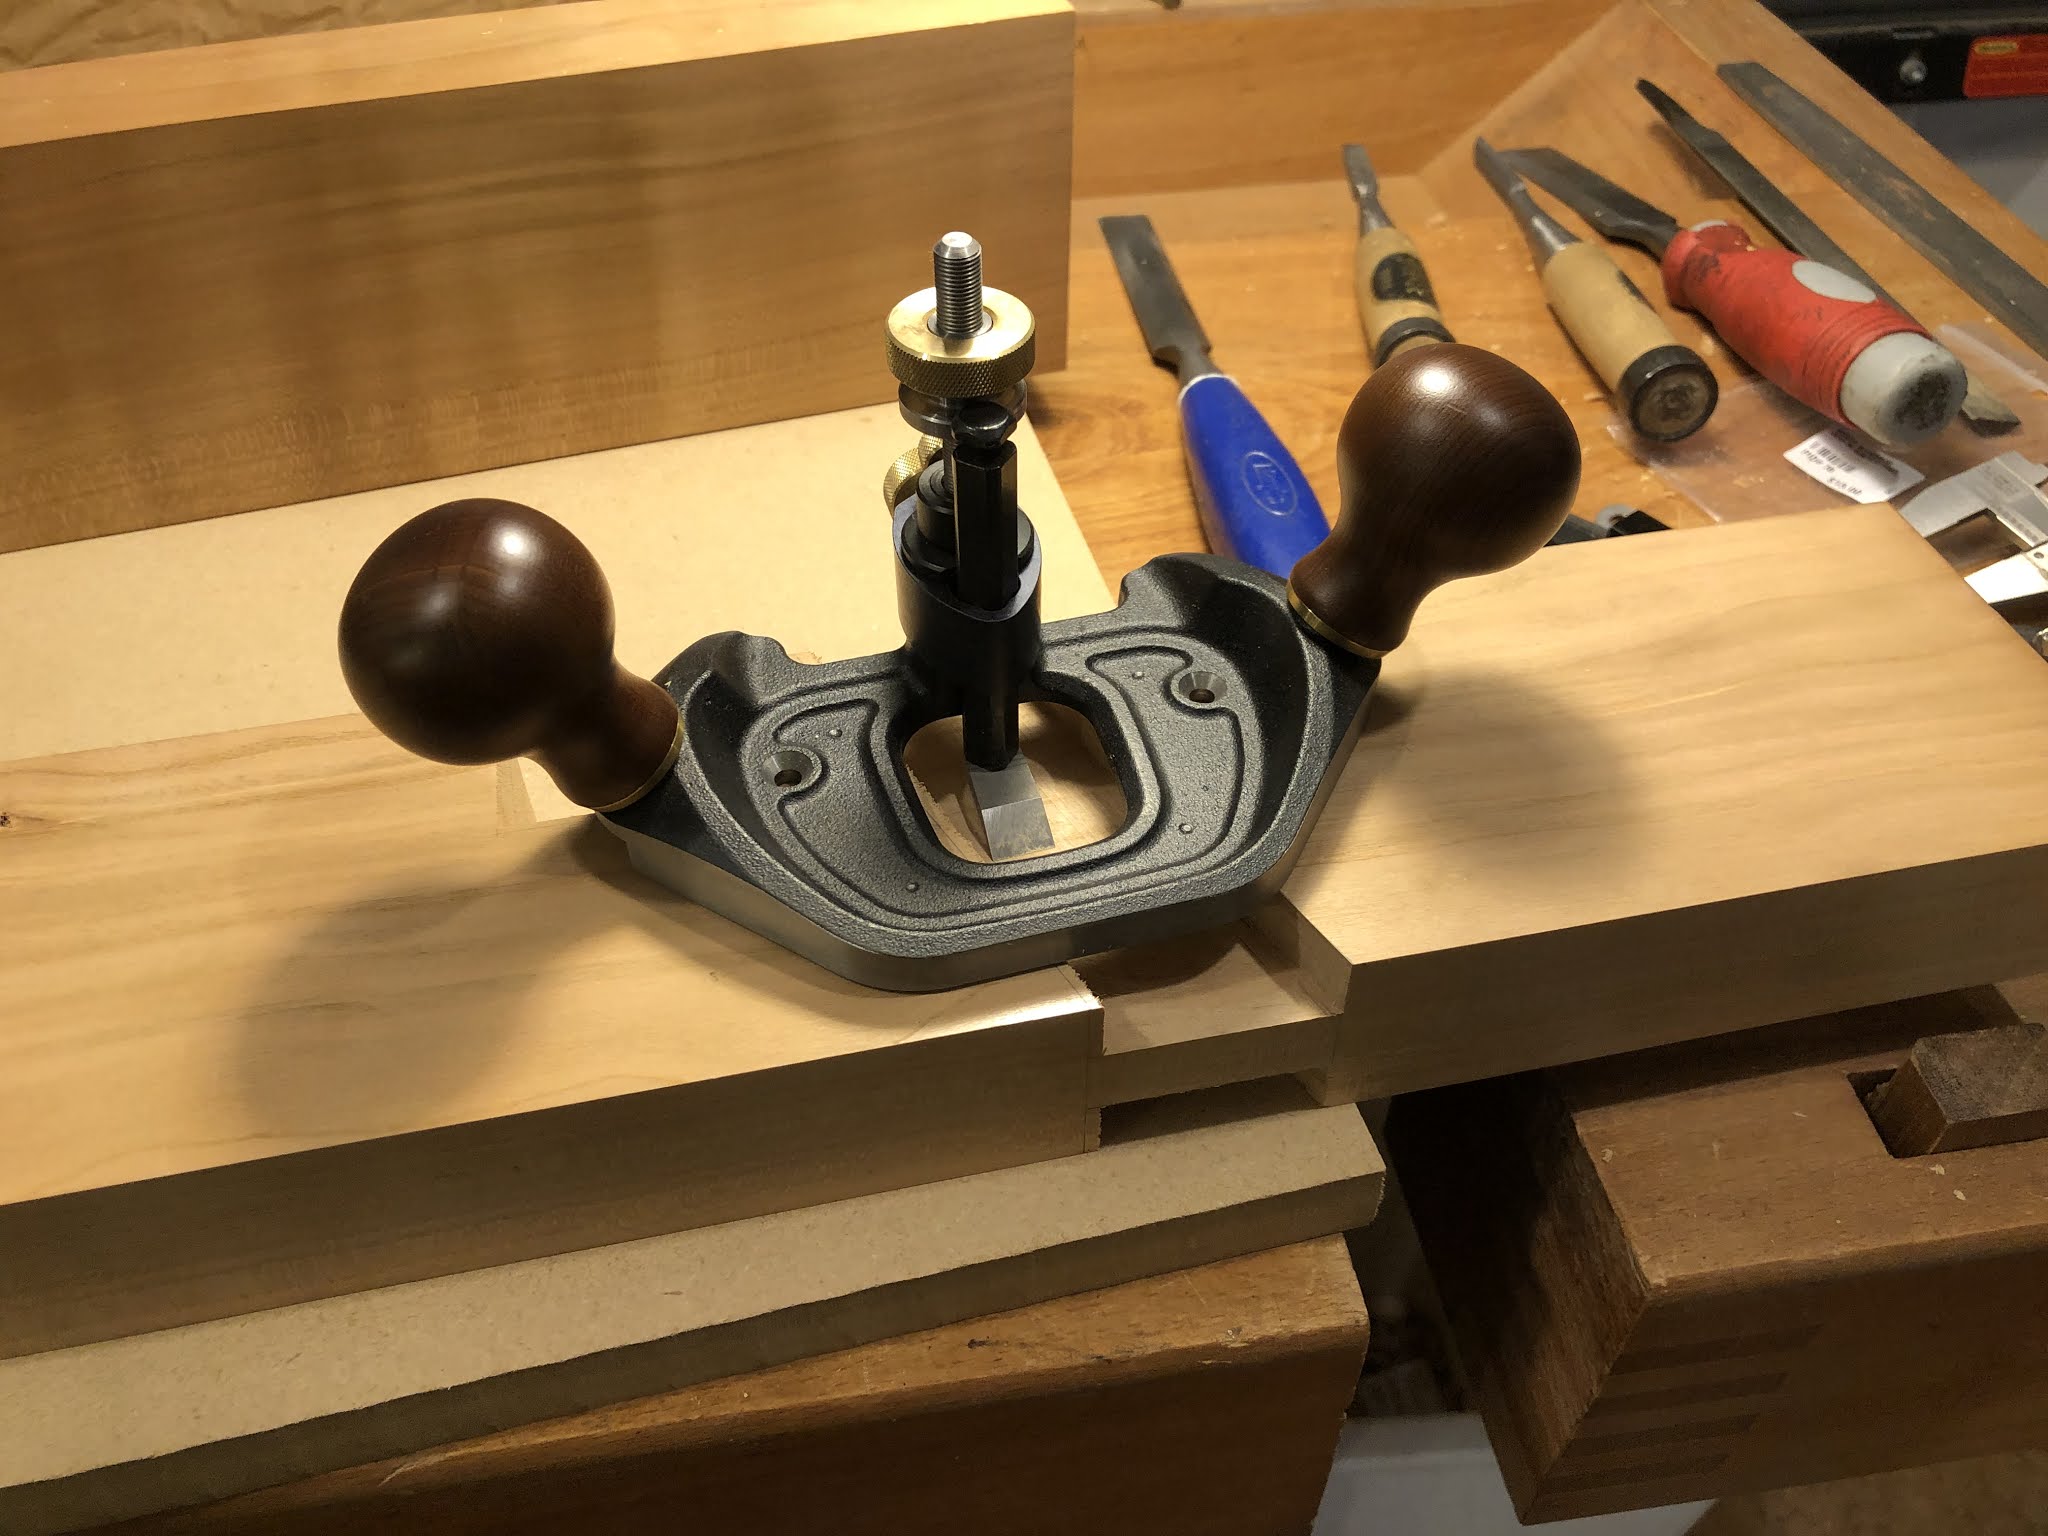
This router plane was super helpful for cleaning up the bottoms of these joints. I bought it specifically for this project from Lee Valley after I saw Ryan using it a while ago and giving it the thumbs up! I would use it again, a good acquisition.


The bridle joints going together.


Finally the bridle joints are home! The 'arms' are in position. One of the arms had developed a bit of a twist to it, which complicated things a bit. I managed to plane it out in the area of the bridle joint, so the final fit was OK. Tight but a bit of a gap.


I trimmed the arms to length, then got the two 'feet' fitted. That turned out to be easy as I accidentally cut them both a bit oversize so they are looser than I would like! But minimal fitting time was required.  May glue in some shims, or run a couple screws up from underneath. Probably both!

 In retrospect I should have used a different joint here, the gluing is all end grain. I also had a bit of tearout on the edges of the joint which I am going to struggle to hide. 

Only one foot showing in this photo below. I need to trim the feet to length and to put a slope on the tops and ends of them. But the fitting of the major components of the base is now complete. 


Next up will be a piece that sit on tops of the arms which the tabletop will actually rest on. I'm calling these the 'hands'. I'm planning on putting a tenon on the end of each arm that will fit into a mortise on the bottom of each hand. The tops of the hands will be cut parallel to the ground for the top to rest on.

I feel like the end of this project is within my grasp.


Tuesday, March 9, 2021

The Cherry Coffee Table Rises Again!!

 I wrote about this back in 2016. There has been quite a gap (5 years) and a few twists and turns along the way. But here I am, back at it! Thanks Covid for giving me all this shop time.

March 21 2013. It started on a beautiful sunny early spring morning. A couple of local cherry street trees had been cut down and found their way down to the city log dump where a friendly city worker set them up for me to slab with my Alaska mill. 


After a few years of being stacked at the side of my house to dry, in 2016 they went through my little home made dehumidifier kiln to squeeze out the last few percent of moisture.

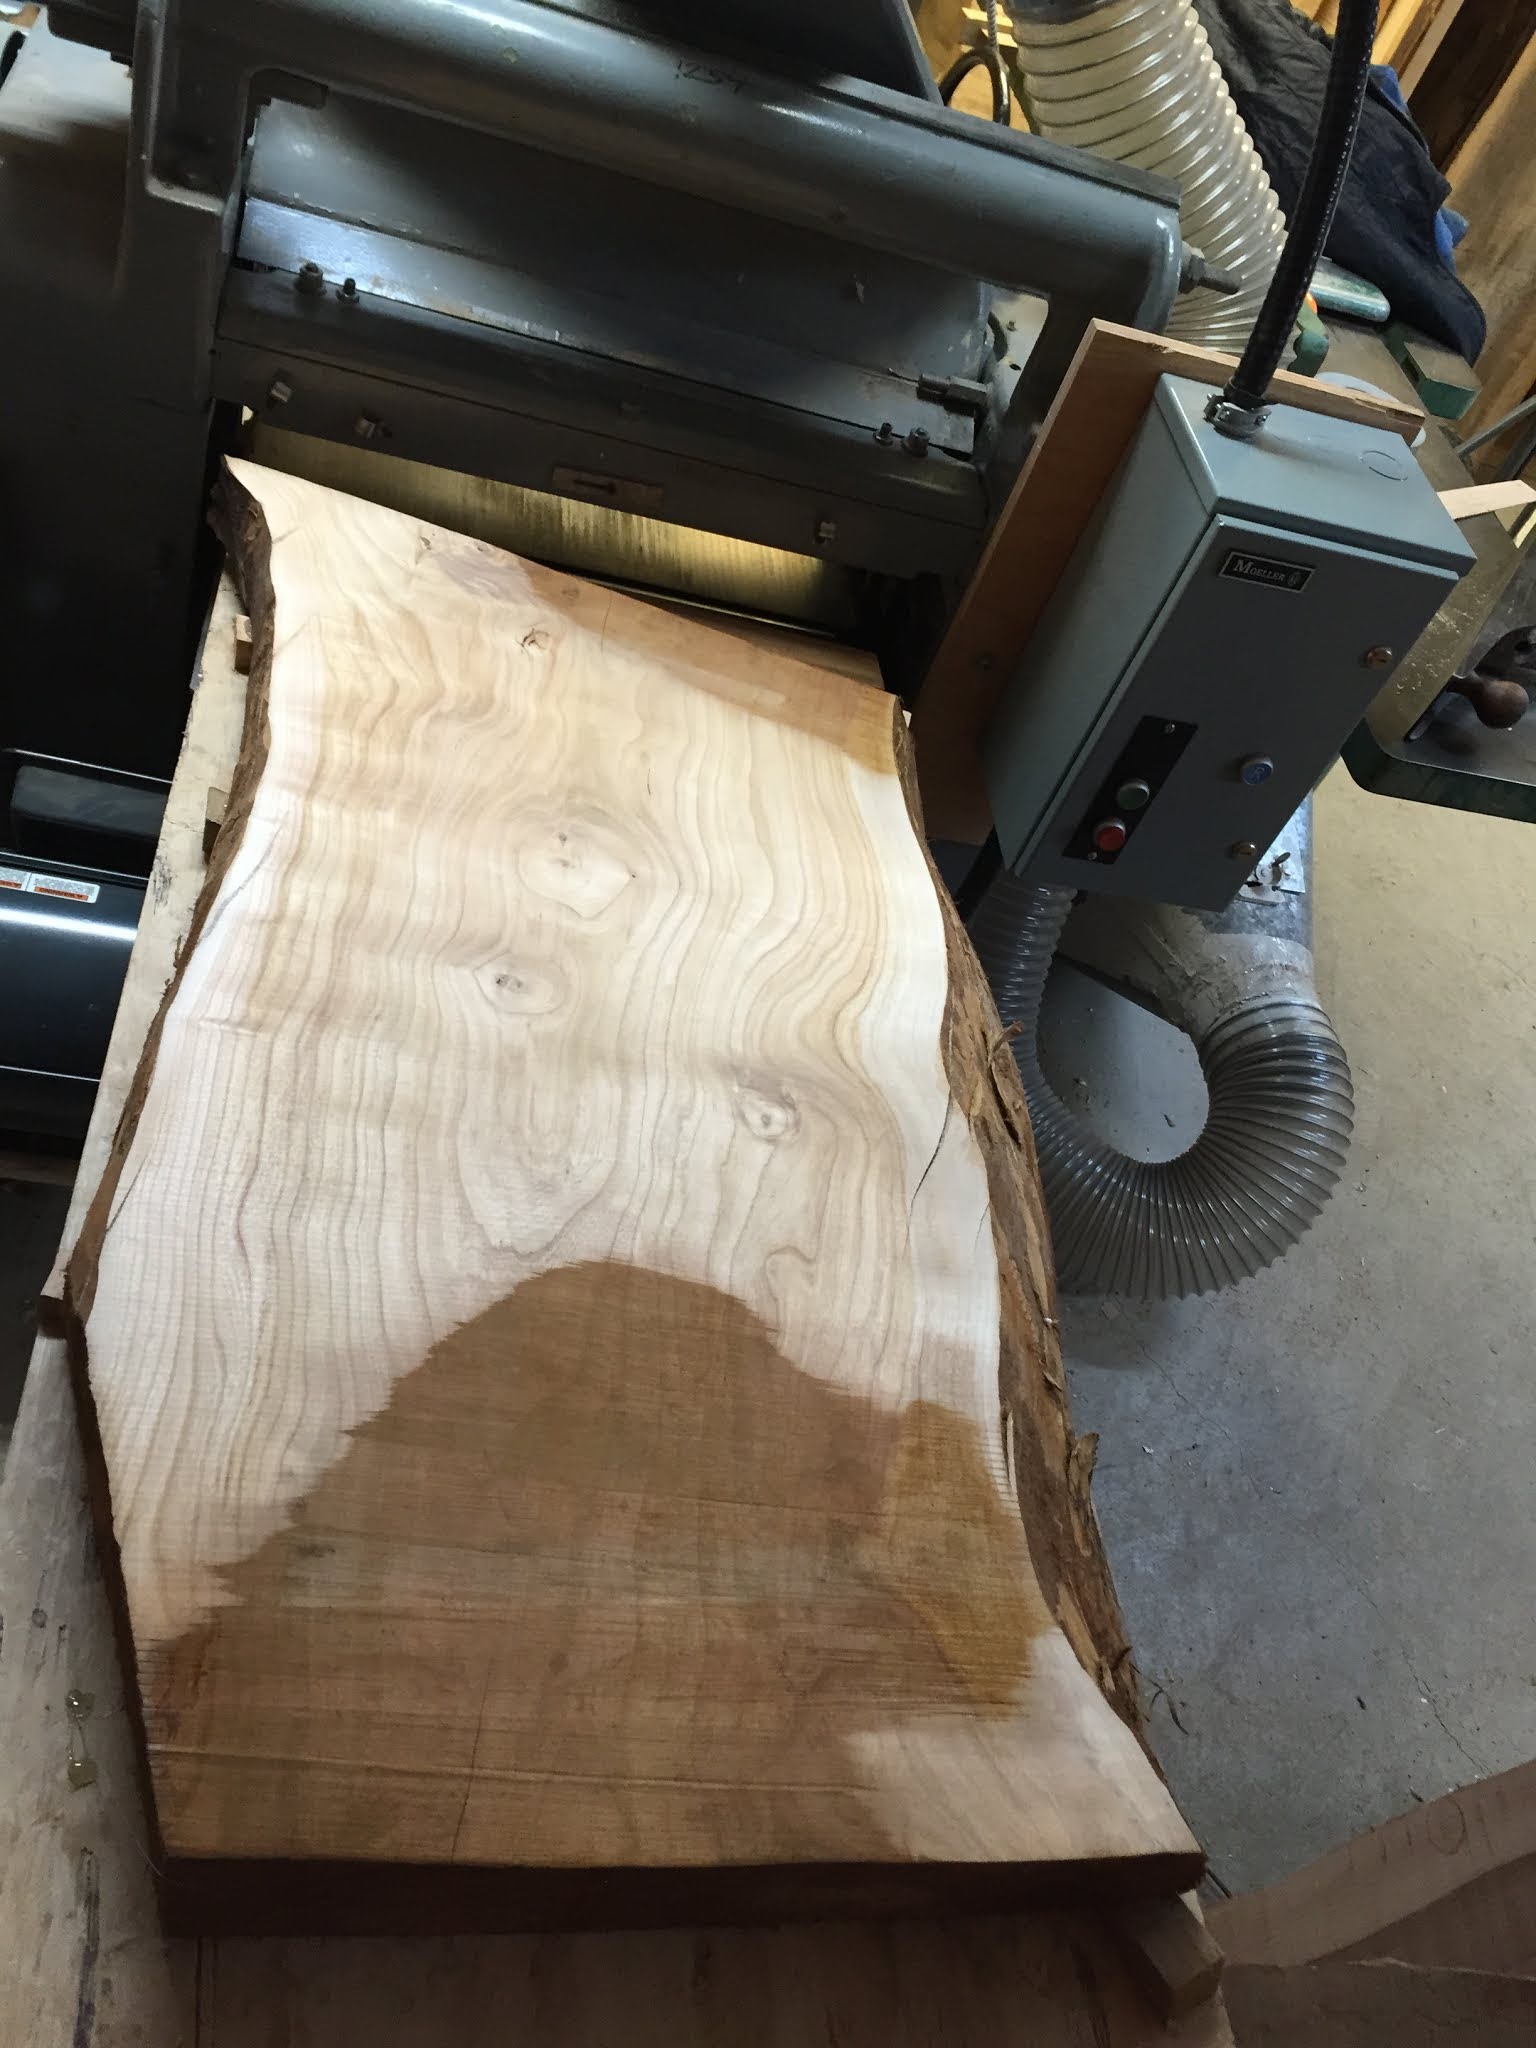
Then it was time to run the slabs through my large planer. I glued each slab to a torsion box, supported the high spots with wedges that were also glued, then cleaned up the slabs.


A lot of chips were generated, my cyclone was great but the chip container was way too small! 


The slabs were pretty nice, I was happy with them. My planer had a ton of snipe though.


I cut the slabs up into sticks, let them dry, then cleaned them up further. I wound up with about ten. Some grain straightening was required. 


My plan was to use them for the base of a coffee table, similar to this George Nakashima table.


The piece on the bottom, what I call the "spine", I did not have anything long enough. I decided to join two pieces together end to end using a rabbeted oblique scarf splice joint, AKA "okkake doisen tsugi".


I thought it would be wise to do a test of this joint. Good thing I did, I wound up with a bad gap.And also a crack.


So then I marked up my real pieces and I made the cuts. But I made a terrible mistake. Can you see it? 


I would have needed to cut the entire joint off and start again. But the pieces were not long enough to allow that. So this project was dead dead dead. After that disaster I decided to give the wood a detention so I took it into a spare room in my house and let it sit there for five years. 


By then I had commiserated with some woodworking buddies and received a very excellent suggestion (thank you Jaime and Kenji!!) on how to fix it. I glued and screwed on a couple pieces of dark wood to
make up for my mistake! The screws will not be visible when the joint is closed.


I used a piece of holly to close up the joint. The gap in this joint was also pretty bad unfortunately. Apparently any lessons from five years ago had been forgotten. Meh. I got on with it. 


Once the spine was built, I thought I should do a mock up of some of the cuts that would be needed in it. I did one "leg" and one "arm" and "hand". After looking at it I decided to make the arm angle a
smidge steeper.

Arm and Hand
 
Leg
 

So I took the real spine to my tablesaw and after about two weeks of careful contemplation, made the necessary cuts. It seems I was mistake-free this time. So far at least. 


My saw cuts at 90 degrees only, so I had to make up a little jig with some MDF in order to cut the angles for the bridal joints for the arms. 


I use a flat-top saw blade so I get a nice even depth groove. But I noticed that one side of the saw blade cuts much more smoothly than the other. Time for a resharpening! But it doesn't matter in this case as I will be sneaking up on the final fit by hand so the rough cut will be trimmed off anyways.


Once I cut some grooves on the tablesaw I use a chisel to cut out the bulk of the waste, then I went back to the tablesaw to clean up the bottom. Next will be the fitting of the legs and arms to this spine piece. 


In parallel with this flurry of activity I have also been trying to decide on what to use for the top. Once I get everything fitted to the spine I will not be able to put the top decision off any further. The dimensions of the top will to some extent dictate the dimensions of the legs and hands. But I have narrowed the top down to two choices so it should not be that hard to decide.

This is my goal.


So that is an update on where I am now. Hopefully I will continue to make progress in the coming weeks.


Sunday, May 3, 2020

Corona Virus Tray

Just over two years since my last post. I did sell all my large woodworking machines that were in the neighbour's garage. However, I was able to retain the garage to continue storing a lot of my slabs, in lieu of actually doing something about getting rid of them.

Meanwhile, I have not done any serious woodworking since the aborted cedar chest of four years ago.

With some recent coronavirus time on my hands I decided to use some scraps to make up a simple tray. Also a good chance to revive some atrophying hand tools skills!

The original idea was to make up something a touch rustic that could go outside and be used to display a bonsai in.

The base is Monterey Cypress, which I milled and dried myself from a local tree. Since this wood is notorious for sap, I actually baked it in our oven at 140 F for about 45 mins to try and set it. I did a bookmatch on a section that had a bit of staining. Finish is several layers of shellac. The shellac was old as dirt, but I did a test with it and it still worked great!

The sides were purported to be rosewood, from a tree that was grown in Florida and came down in a hurricane some years ago. I bought it from a seller on eBay, a local wood guy I showed it to was skeptical that it was rosewood and I tend to agree with him.

I had to put a couple patches on the sides, as I was running the sides through my shaper to form a groove for the base to fit into, I had not tightened things up and the bit rose up as I cut and went completely through! I guess I did not learn from the first time, as the same thing happened again. So with the patches it definitely meets my original objective of 'rustic' although not as I had originally intended.

In any case I put a couple coats of my fav Tried and True on the sides and they look fine.

Photographed among the cherry blossoms.


Thursday, April 12, 2018

Shop Countdown!

I rent a neighbour's garage to keep my large planer and jointer in.

The neighbour told me a while ago that I need to be out of there by the end of June. I will be selling the planer and probably the jointer as well. So before that happens I thought I had better get some of the slabs in there cleaned up, once the planer is gone it'll be a problem to flatten large slabs.

I have milled a lot of elm over the years, but there was one log in particular that really struck me. I gave several pieces of it away over the years, but still had three in my inventory. I cleaned this one up because it was the narrowest, the other two are too wide for the planer. I'm hoping to use this as a wall decoration in the house.


I also have a beautiful piece of figured Douglas Fir that was given to me a few years ago by my dad's cousin. He rescued it from a bonfire many years ago, I'm guessing in the 50's or 60's it still had burn marks on it when I got it! I was initially thinking I would resaw it up into panels and make a screen out of it. But once I cleaned it up I saw it had a lot of cracks in it, so still deciding what to do with it.


Probably my greatest treasure is four thick slabs of arbutus I milled up on Thetis Island several years ago. I had milled arbutus there previously, but the slabs I cut that first time were too thin. So these I milled at close to 4". Also, I had a ferry to catch that day so cutting thicker meant taking more wood home!

No immediate plans for this wood. It seems very stable compared to the previous arbutus I milled. Will continue to store it until the right inspiration strikes me!

This one I planed up several years ago, but I need to run it through again to take care of the lower left corner


This is a narrower piece that I mostly cleaned up today. Still needs another couple of passes to finish up. In comparison to the above piece, this one is quite a bit lighter. Shows how the arbutus will darken up with time.


Wednesday, May 3, 2017

The End of Milling

Hey it has been over a year since my last post, and very little woodworking was done during that time.

I did get out for a handful of milling sessions, but the supply of wood from the City is drying up. Also, at my Slow Woodworker pace I have enough wood for multiple lifetimes! So I have decided to stop milling and am in the process of selling my chainsaws and mills.

Here are some photos of the last few milling sessions.


 Milling Horsechestnut rounds with the 60" mill


 Hemlock for a friend. 


Oak in front of a guy's house. He arranged with the city to save this street tree for him. Very nice!

The only ash I've ever milled


Friday, April 29, 2016

Cedar Chest

My wife discovered some moths in her sweaters and an emergency was instantly declared. A cedar chest was decreed.

All hands on deck for a cedar chest! All other projects are thrust to the backburner for the time being!

Fortunately I had several slabs of fairly wide Monterey cypress that would let me build the chest of wide planks.  The first step was to run them through the planer on a sled to flatten one side.

Once that was done I selected the best ones, and marked them for cutting to rough dimensions. I'm planning 12" x 16" x 36". Since my table saw is too small to cut boards of these dimensions, I used a skilsaw.

Following that, the 12" wide boards were resawn on my bandsaw.

I wound up with 5 boards, plus a couple other pieces I can press into service if things really go sideways!

However since my bandsaw's throat capacity is only 13", I could not resaw the top and bottom pieces which are to be 16" wide. So I had to bust out my Alaska mill and resaw them that way.

The Alaska mill is a bit coarse, so I left the boards oversized so they can be trimmed to thickness on my planer.

It actually went pretty well. The top will be the Monterey cypress and the bottom will be Deodar cedar, very aromatic.

I'll let the boards acclimatize for a few days, then run them through the planer and then trim close to final dimensions. I am thinking finger joints.

One issue is going to be taming the sap in these boards. Previously I have set the sap in Monterey cypress by baking the boards in the oven, but these are too big for that. Maybe one end at a time?! Need to come up with something creative here.